
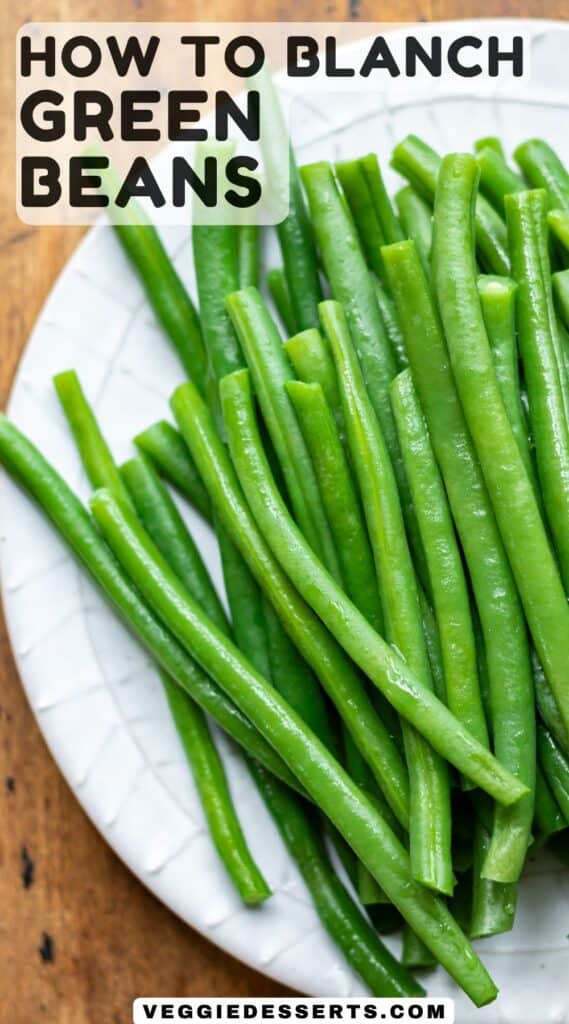

Learn how to blanch green beans in just a few simple steps. Blanching helps to retain the vibrant green color and crisp texture, making them perfect for immediate use in dishes or for freezing.
Quick and simple, blanching green beans is a culinary technique that ensures your veggies stay crisp and vibrant!
It only takes a few minutes, but it makes a huge difference to the look and texture of your finished dish.
Blanching is a cooking technique that preserves the beans' natural crunch while enhancing their color and flavor. It might sound fancy, but it really isn't. It simply means briefly boiling your green beans, then plunging them into ice water. Drain and you're ready to use them!
Whether you're a seasoned chef or a novice in the kitchen, mastering the very simple art of blanching will take your green bean game to the next level.
In this comprehensive guide, I'll walk you through the simple steps to blanching green beans like a pro, ensuring they're always crisp, tender, and bursting with flavor.
Use them in a dish or simply serve them up with a little salt, pepper and maybe some parmesan cheese and a pinch of garlic powder. Perfection!
If you love green beans, be sure to also try them in Green Beans with Cranberries and Pecans or Green Beans Almondine - they both make tasty side dishes.
If you love blanching your veggies (it's a great way to prep them for freezing), then be sure to check out How To Blanch Broccoli.
Jump to:
Why You'll Love This Recipe
- Texture: Blanching preserves the crisp texture of green beans, making them a delightful addition to salads, stir-fries, and side dishes.
- Color Retention: By briefly cooking the beans and then shocking them in ice water, blanching helps retain their vibrant green color.
- Versatility: Once blanched, green beans can be incorporated into a variety of dishes, from cold salads to hot stir-fries, offering endless culinary possibilities.
- Nutritional Benefits: Blanched green beans retain more nutrients compared to boiling or steaming for extended periods, ensuring you get the maximum health benefits from your veggies.
Ingredients

- Green beans: Fresh and crisp, green beans are the star of this recipe. Look for beans that are firm and bright in color.
- Water: To cook blanch green beans in. Optionally you can add a pinch of salt.
- Ice: Ice cubes are essential for creating an ice bath to quickly cool down the blanched green beans and stop the cooking process. No cubes? Place a bowl of water into the fridge or freezer until it gets very very cold.
See the recipe card for quantities.
How To Blanch Green Beans
Follow this step-by-step photo tutorial, then scroll down to the recipe card for the full ingredients list and method.

Rinse the green beans.
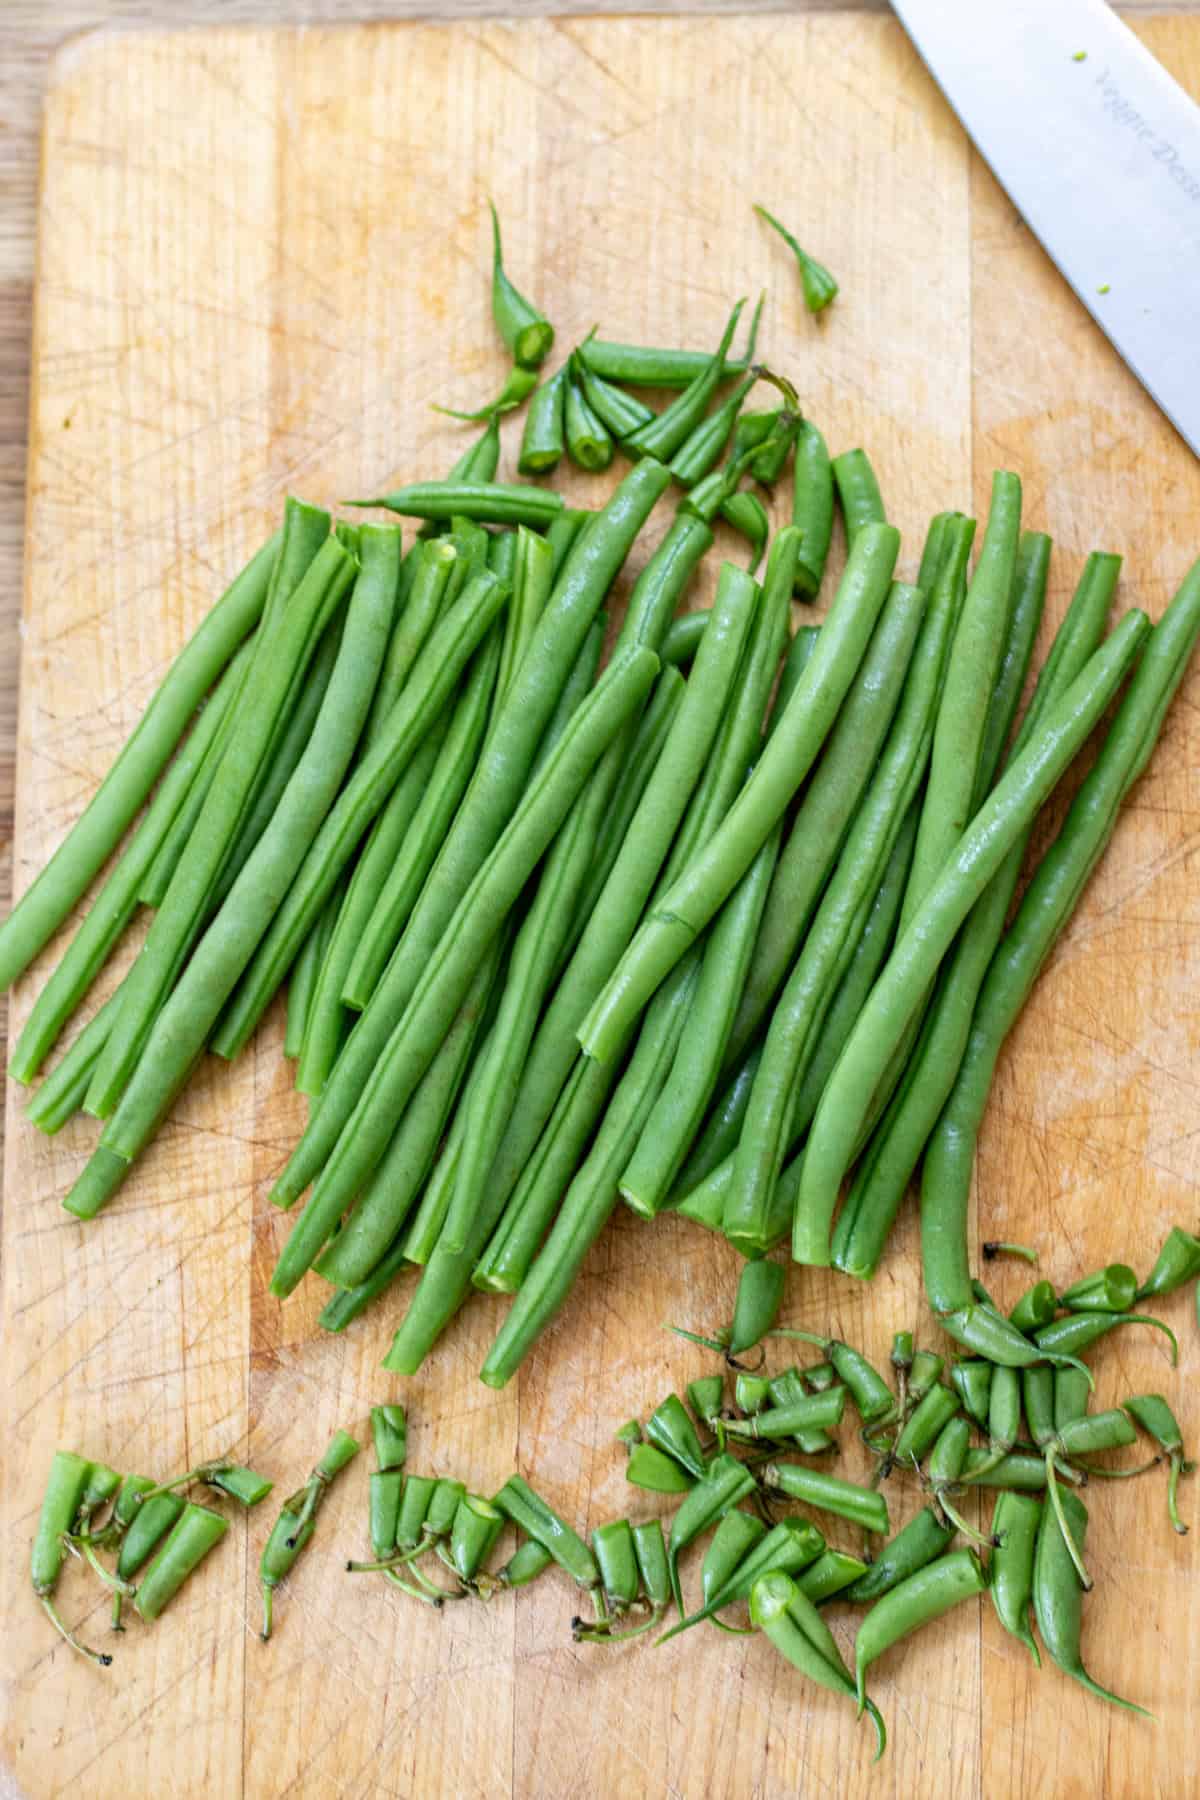
Trim off the ends of the beans using a knife or kitchen scissors.

Fill a large pot with water and bring it to a rolling boil. You'll need enough water to fully submerge the green beans.

Prepare an ice bath: While the water is heating up, prepare a large bowl filled with ice water. This will be used to immediately cool down the beans after blanching to stop the cooking process.

Once the water is boiling, carefully add the green beans to the pot. Make sure they are fully submerged.

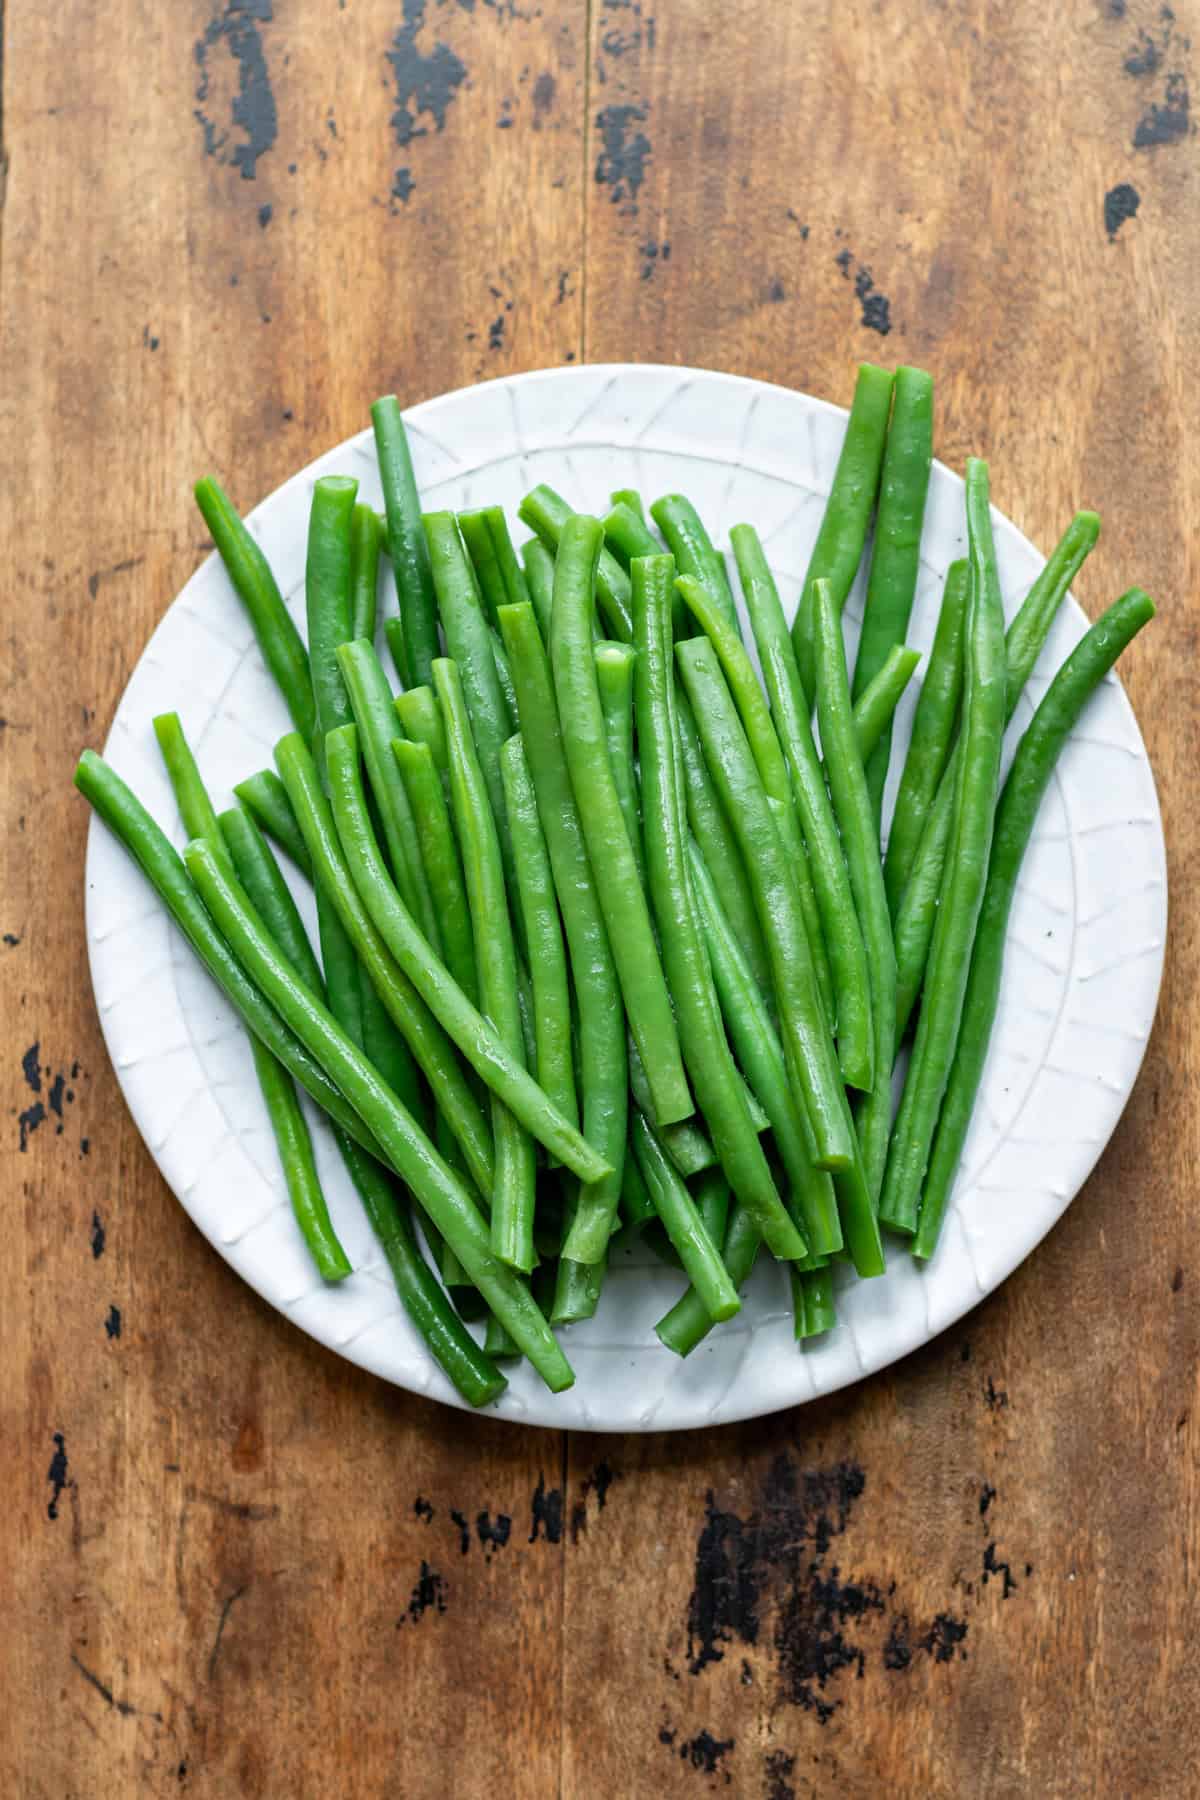
Boil the beans for about 2-3 minutes. The exact time may vary depending on the size and thickness of the beans. You want them to be bright green and slightly tender but still crisp.

Using a slotted spoon or tongs (or drain in a colander), remove the green beans from the boiling water.

Immediately transfer them to the ice water bath. This will quickly cool them down and prevent them from cooking further.

Once the green beans are completely cooled, drain them from the ice water bath.
Serving Suggestions
- Cold salad: Toss blanched green beans with cherry tomatoes, feta cheese, and balsamic vinaigrette for a refreshing salad.
- Stir-fry: Add blanched green beans to your favorite stir-fry for a crunchy and colorful addition.
- Side dish: Serve blanched green beans as a simple yet satisfying side dish.
- Green Bean Casserole: Use blanched green beans as a base for the classic green bean casserole, topped with creamy mushroom sauce and crispy fried onions.
- Green Bean Soup: Blend blanched green beans with vegetable broth, garlic, and herbs for a creamy and comforting soup.
Storage
Store: Blanched green beans can be stored in an airtight container in the refrigerator for up to 3 days. To reheat, simply steam or microwave until heated through.
Top tips
- Use a large pot: Make sure to use a large pot with plenty of water to fully submerge the green beans for even cooking.
- Don't overcook: Keep an eye on the green beans while blanching to avoid overcooking, which can result in mushy beans.
- Shock in ice water: Immediately transfer the blanched green beans to an ice water bath to stop the cooking process and lock in their vibrant color.
- Dry thoroughly: After draining the green beans from the ice water bath, pat them dry with a clean kitchen towel to remove excess moisture before using or storing.

FAQ
Yes, blanched green beans can be prepared ahead of time and stored in the refrigerator until ready to use.
Yes, blanched green beans can be frozen for longer storage. Simply blanch, cool, and then transfer to freezer-safe bags or containers.
Yes, the blanching method can be used for a variety of vegetables, including broccoli, asparagus, and carrots.
How to Blanch and Freeze Green Beans
Follow the instructions for blanching green beans, then complete the following steps to freeze them:
- Drain and Dry Once the green beans are completely cooled, drain them from the ice water bath. Pat them dry with a clean kitchen towel to remove excess moisture.
- Package for Freezing Spread the blanched and dried green beans out on a baking sheet in a single layer. This will prevent them from sticking together when frozen. Place the baking sheet in the freezer for a few hours or until the green beans are completely frozen.
- Transfer to Freezer Bags Once the green beans are frozen solid, transfer them to freezer-safe bags or containers. Be sure to label the bags with the date so you can keep track of when they were frozen.
- Store in the Freezer Place the bags of green beans in the freezer and store them for up to 12 months.

Sign up for our free newsletter and never miss a recipe!
Plus, you'll get a free eBook: 15 Minute Vegan Dinners!
⭐⭐⭐⭐⭐ If you love this recipe, please leave a five-star rating and review in the comments below! And if you make any modifications, let us know how it went so that we can all benefit from your experience. Happy cooking!
📖 Recipe

How To Blanch Green Beans
Equipment
- Pot
- Bowl
- Metal tongs
- Colander/Drainer
Ingredients
- 1 pound green beans 500g
- Water
- Ice
Instructions
- Wash the green beans, then trim off the ends of the beans using a knife or kitchen scissors.
- Fill a large pot with water and bring it to a rolling boil. You'll need enough water to fully submerge the green beans.
- Prepare an ice bath: While the water is heating up, prepare a large bowl filled with ice water. This will be used to immediately cool down the beans after blanching to stop the cooking process.
- Once the water is boiling, carefully add the green beans to the pot. Make sure they are fully submerged. Blanch the beans for about 2-3 minutes. The exact time may vary depending on the size and thickness of the beans. You want them to be bright green and slightly tender but still crisp.
- Using a slotted spoon or tongs (or drain in a colander), remove the green beans from the boiling water and immediately transfer them to the ice water bath. This will quickly cool them down and prevent them from cooking further.
- Once the green beans are completely cooled, drain them from the ice water bath. You can pat them dry with a clean kitchen towel if desired.
- Use or store: Blanching prepares the green beans for various recipes. You can use them immediately in salads, stir-fries, or as a side dish. Alternatively, you can store them in an airtight container in the refrigerator for a few days.
Nutrition
The nutritional information provided is approximate and can vary depending on several factors, so is not guaranteed to be accurate. Please see a registered dietician for special diet advice.
Ned says
What a great tip! My beans came out perfecting following your easy to follow steps. Thank you!
Paula says
We had these blanched green beans as a side and they were super!
Heather says
A quick and easy method for making green beans the perfect tenderness! My beans turned out a bright, beautiful green, and had the perfect bite too. Thank you!
Harriet Young says
Really simple and tasty - the texture was perfect. I served mine alongside cauliflower cheese - yummy!
Charah says
I love this recipe, I'm taking a note on everything and will try this soon. Thanks for sharing