

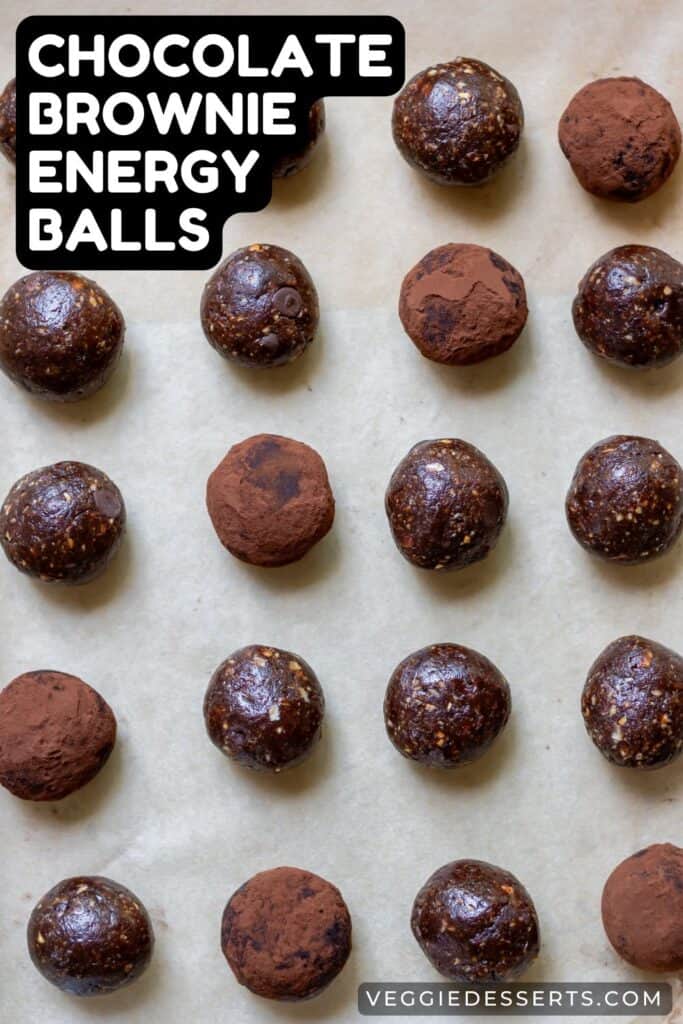
These no-bake Chocolate Brownie Energy Balls are quick to make, naturally sweetened with dates and full of rich chocolate flavour!
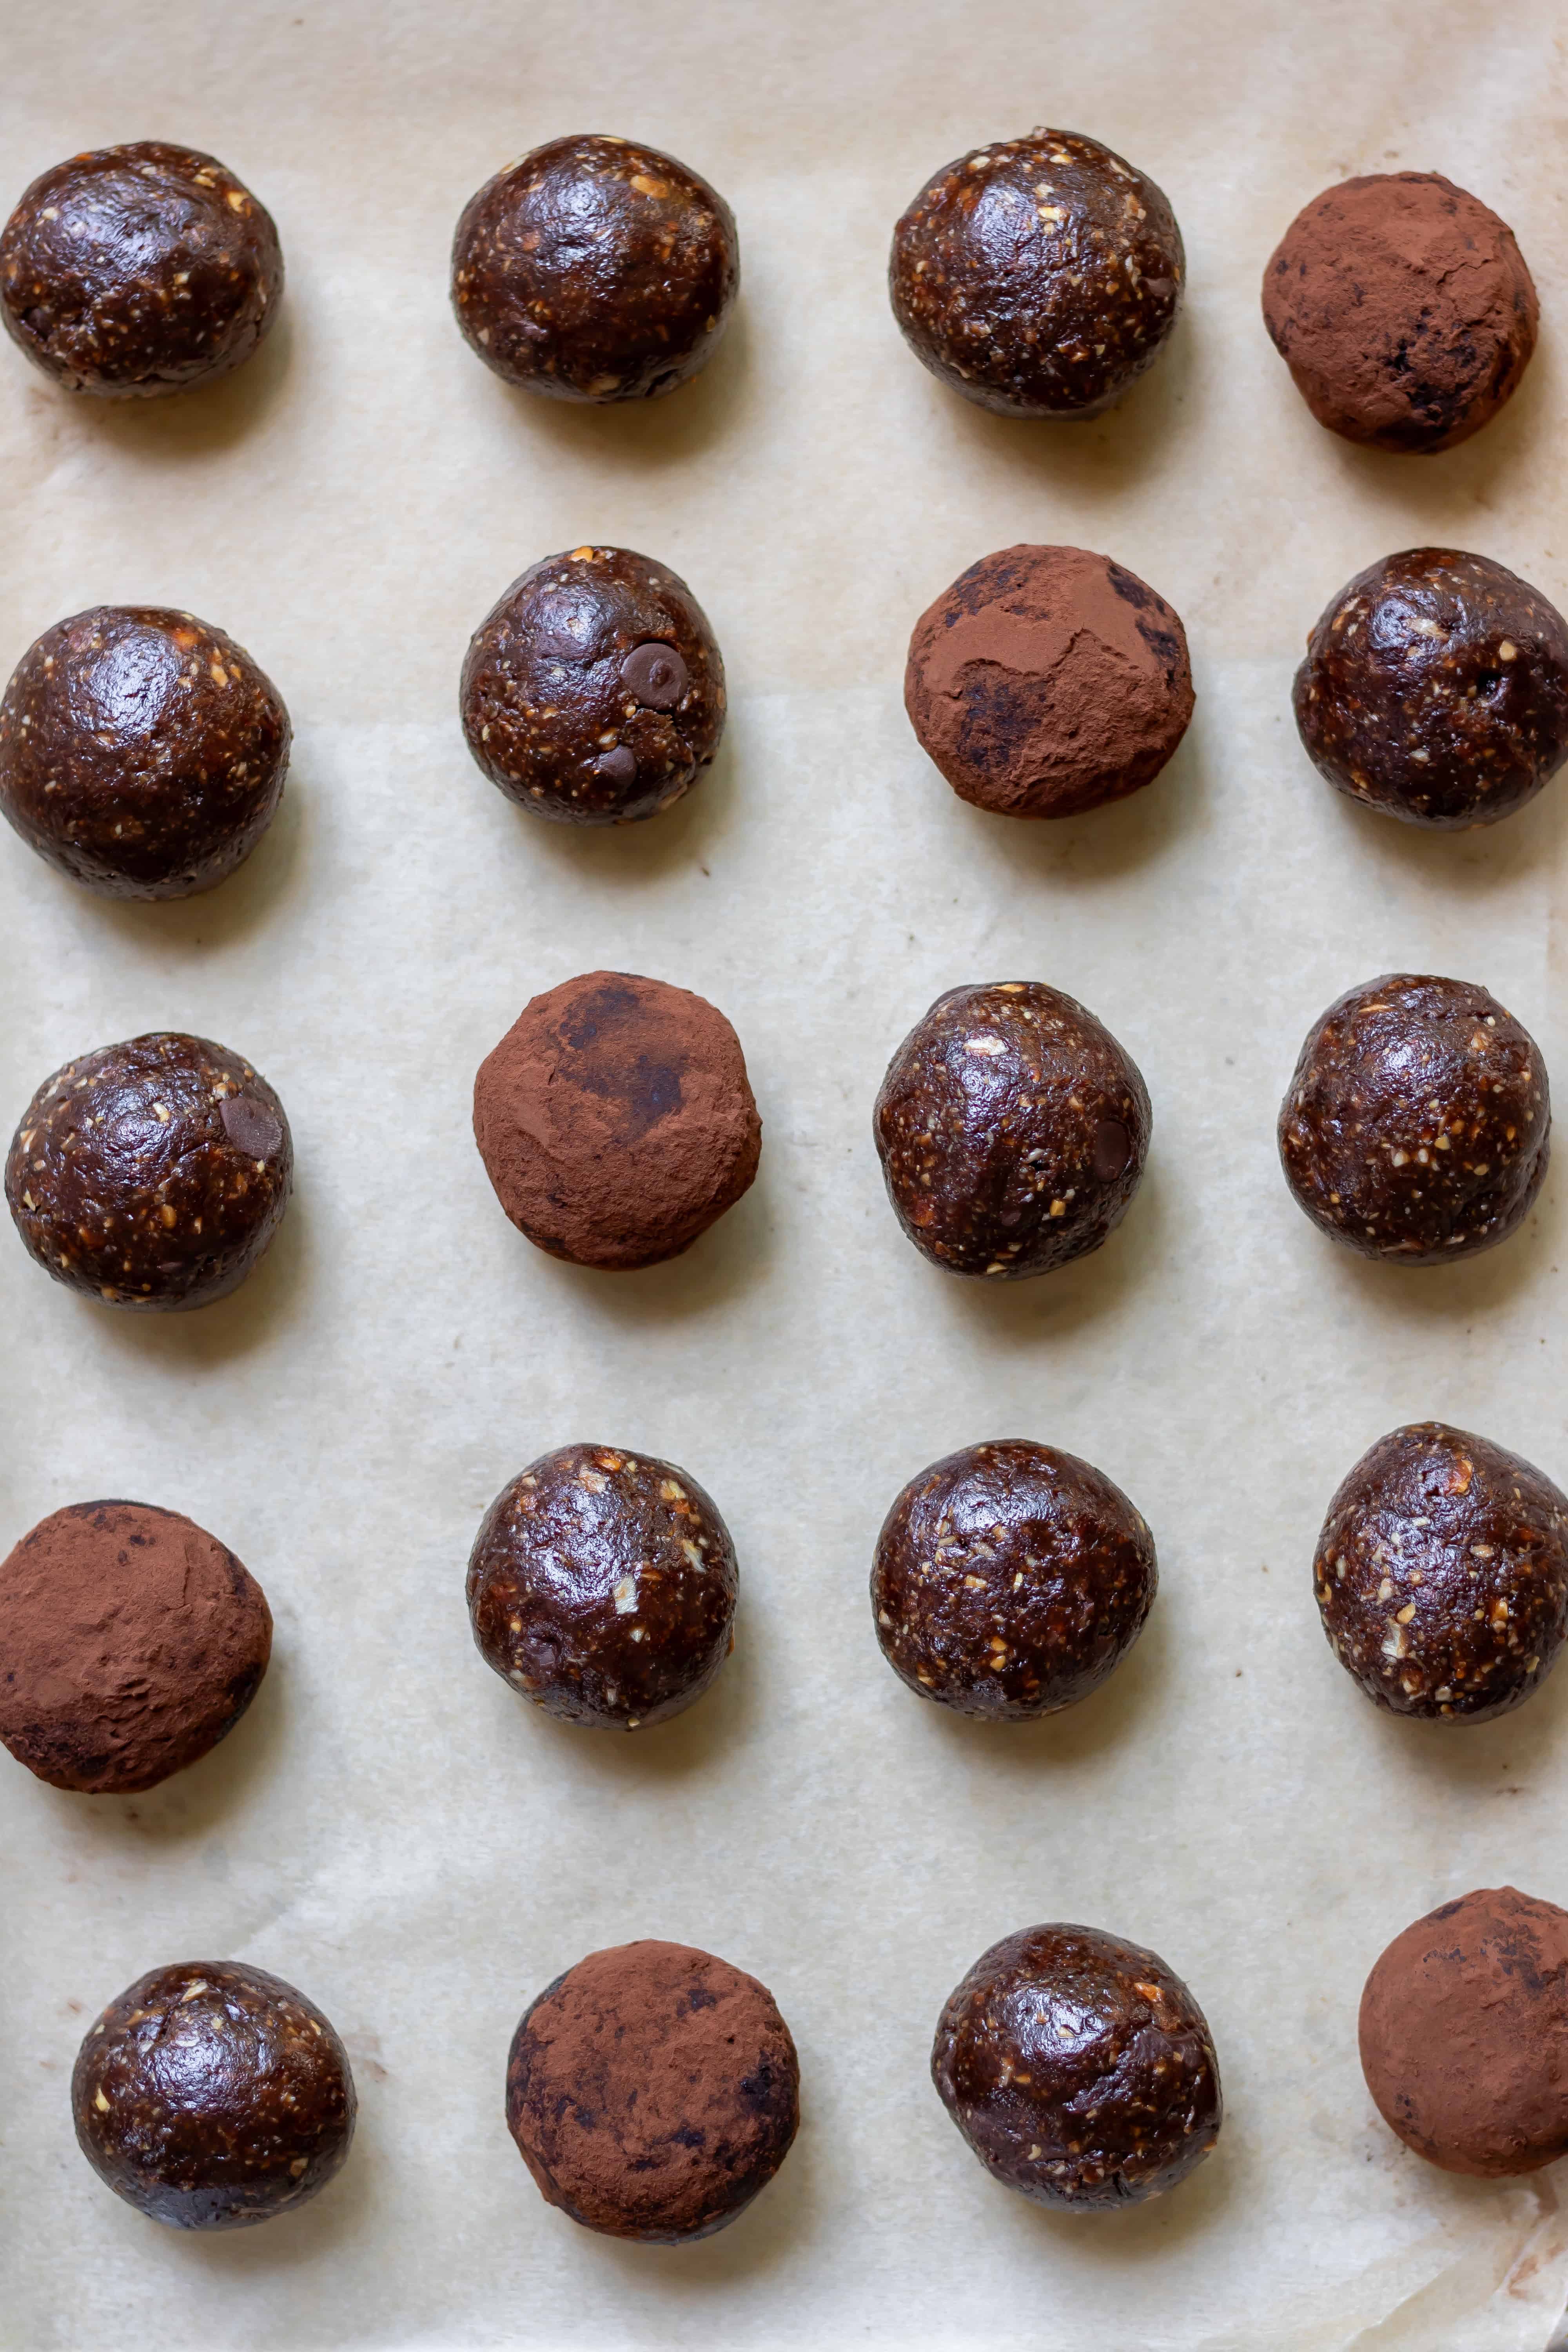
These Chocolate Brownie Energy Balls are quick to make, naturally sweetened with dates and full of rich chocolate flavour.
They're easy to prepare in one food processor, store well in the fridge and freeze beautifully for grab-and-go snacks.
I've made countless versions of energy balls over the years, and this combination has become my favourite because the texture stays pleasantly soft for days.
The food processor is what makes the recipe successful. Processing the dates with the oats allows everything to blend into a thick, slightly fudgy mixture that rolls easily.
These energy balls are ideal when you need something convenient that still feels homemade.
I often prepare a batch on Sunday evening and keep them chilled throughout the week.
Because they're fairly rich, one or two usually feels enough.
If you love energy balls and protein balls, be sure to try Matcha Balls, Date Protein Balls, Hot Cross Balls or Ginger Sweet Potato Balls!
Jump to:
Why You'll Love This Recipe
- No baking required. Everything comes together in a food processor, making this an ideal recipe on warm days when you don't want to switch on the oven.
- Simple pantry ingredients. Most of the ingredients are cupboard staples that keep well, so it's easy to make a batch without planning ahead.
- Rich chocolate flavour. Cocoa powder provides a deep chocolate taste while the dark chocolate chips add little pockets of richness.
- Easy to prepare in advance. These keep well in both the fridge and freezer, making them useful for weekly meal preparation.
- Easy to customise. Once you've mastered the basic mixture, it's simple to swap ingredients to suit your tastes or dietary needs.
- Portable snacks. They're sturdy enough to take to work, school, picnics or long journeys without falling apart.
- Naturally sweetened. Most of the sweetness comes from the dates, giving the recipe a balanced flavour rather than an overly sugary finish.
Dates
Dates are the ingredient that makes this recipe work. They provide sweetness, moisture and enough natural stickiness to bind everything together without needing lots of added syrup.
I usually buy soft Medjool dates when I can find them because they blend more quickly and have a rich caramel flavour.
Standard pitted dates work perfectly well too, although they're often a little firmer. A short soak in warm water makes a noticeable difference if they're beginning to dry out.
One mistake I've seen is skipping the soaking step when the dates feel hard. The food processor has to work much harder, and small pieces can remain throughout the mixture instead of blending smoothly.
Ingredients
- Pitted dates - Dates form the base of the recipe and provide both sweetness and structure. Choose soft dates if possible. If yours feel firm, soaking them in warm water for 5-10 minutes makes them blend much more easily. Drain them well before adding them to the processor.
- Rolled oats - Rolled oats give the mixture body and create that familiar brownie-like chew. I prefer traditional rolled oats because they add a little texture without making the mixture coarse. If you're preparing these for someone avoiding gluten, choose certified gluten-free oats.
- Peanut butter - A smooth peanut butter helps everything bind together while adding richness. Natural peanut butter works well, although I always give it a good stir first if the oil has separated. Crunchy peanut butter can be used too if you'd like a little extra texture.
- Cocoa powder - Good-quality cocoa powder provides the deep chocolate flavour. Unsweetened cocoa gives the most balanced result, allowing the dates to provide the sweetness naturally. Dutch-process cocoa creates a darker colour and a slightly smoother flavour if that's what you have available.
- Honey or maple syrup - A small amount of honey or maple syrup adds extra moisture and helps the ingredients come together. Maple syrup keeps the recipe suitable for a vegan diet, while honey contributes a slightly floral sweetness.
- Ground flaxseed - (also called linseeds) adds a subtle nutty flavour while helping absorb moisture. I've occasionally made these without it when I'd run out, and the recipe still works, although the texture tends to be a little softer.
- Vanilla extract - A teaspoon of vanilla extract rounds out the chocolate flavour without making itself obvious. Pure vanilla gives the nicest flavour, but vanilla extract from the baking aisle works perfectly well.
- Sea salt - Just a pinch of sea salt makes the chocolate taste fuller. It seems like a tiny ingredient, but I notice the difference if I leave it out.
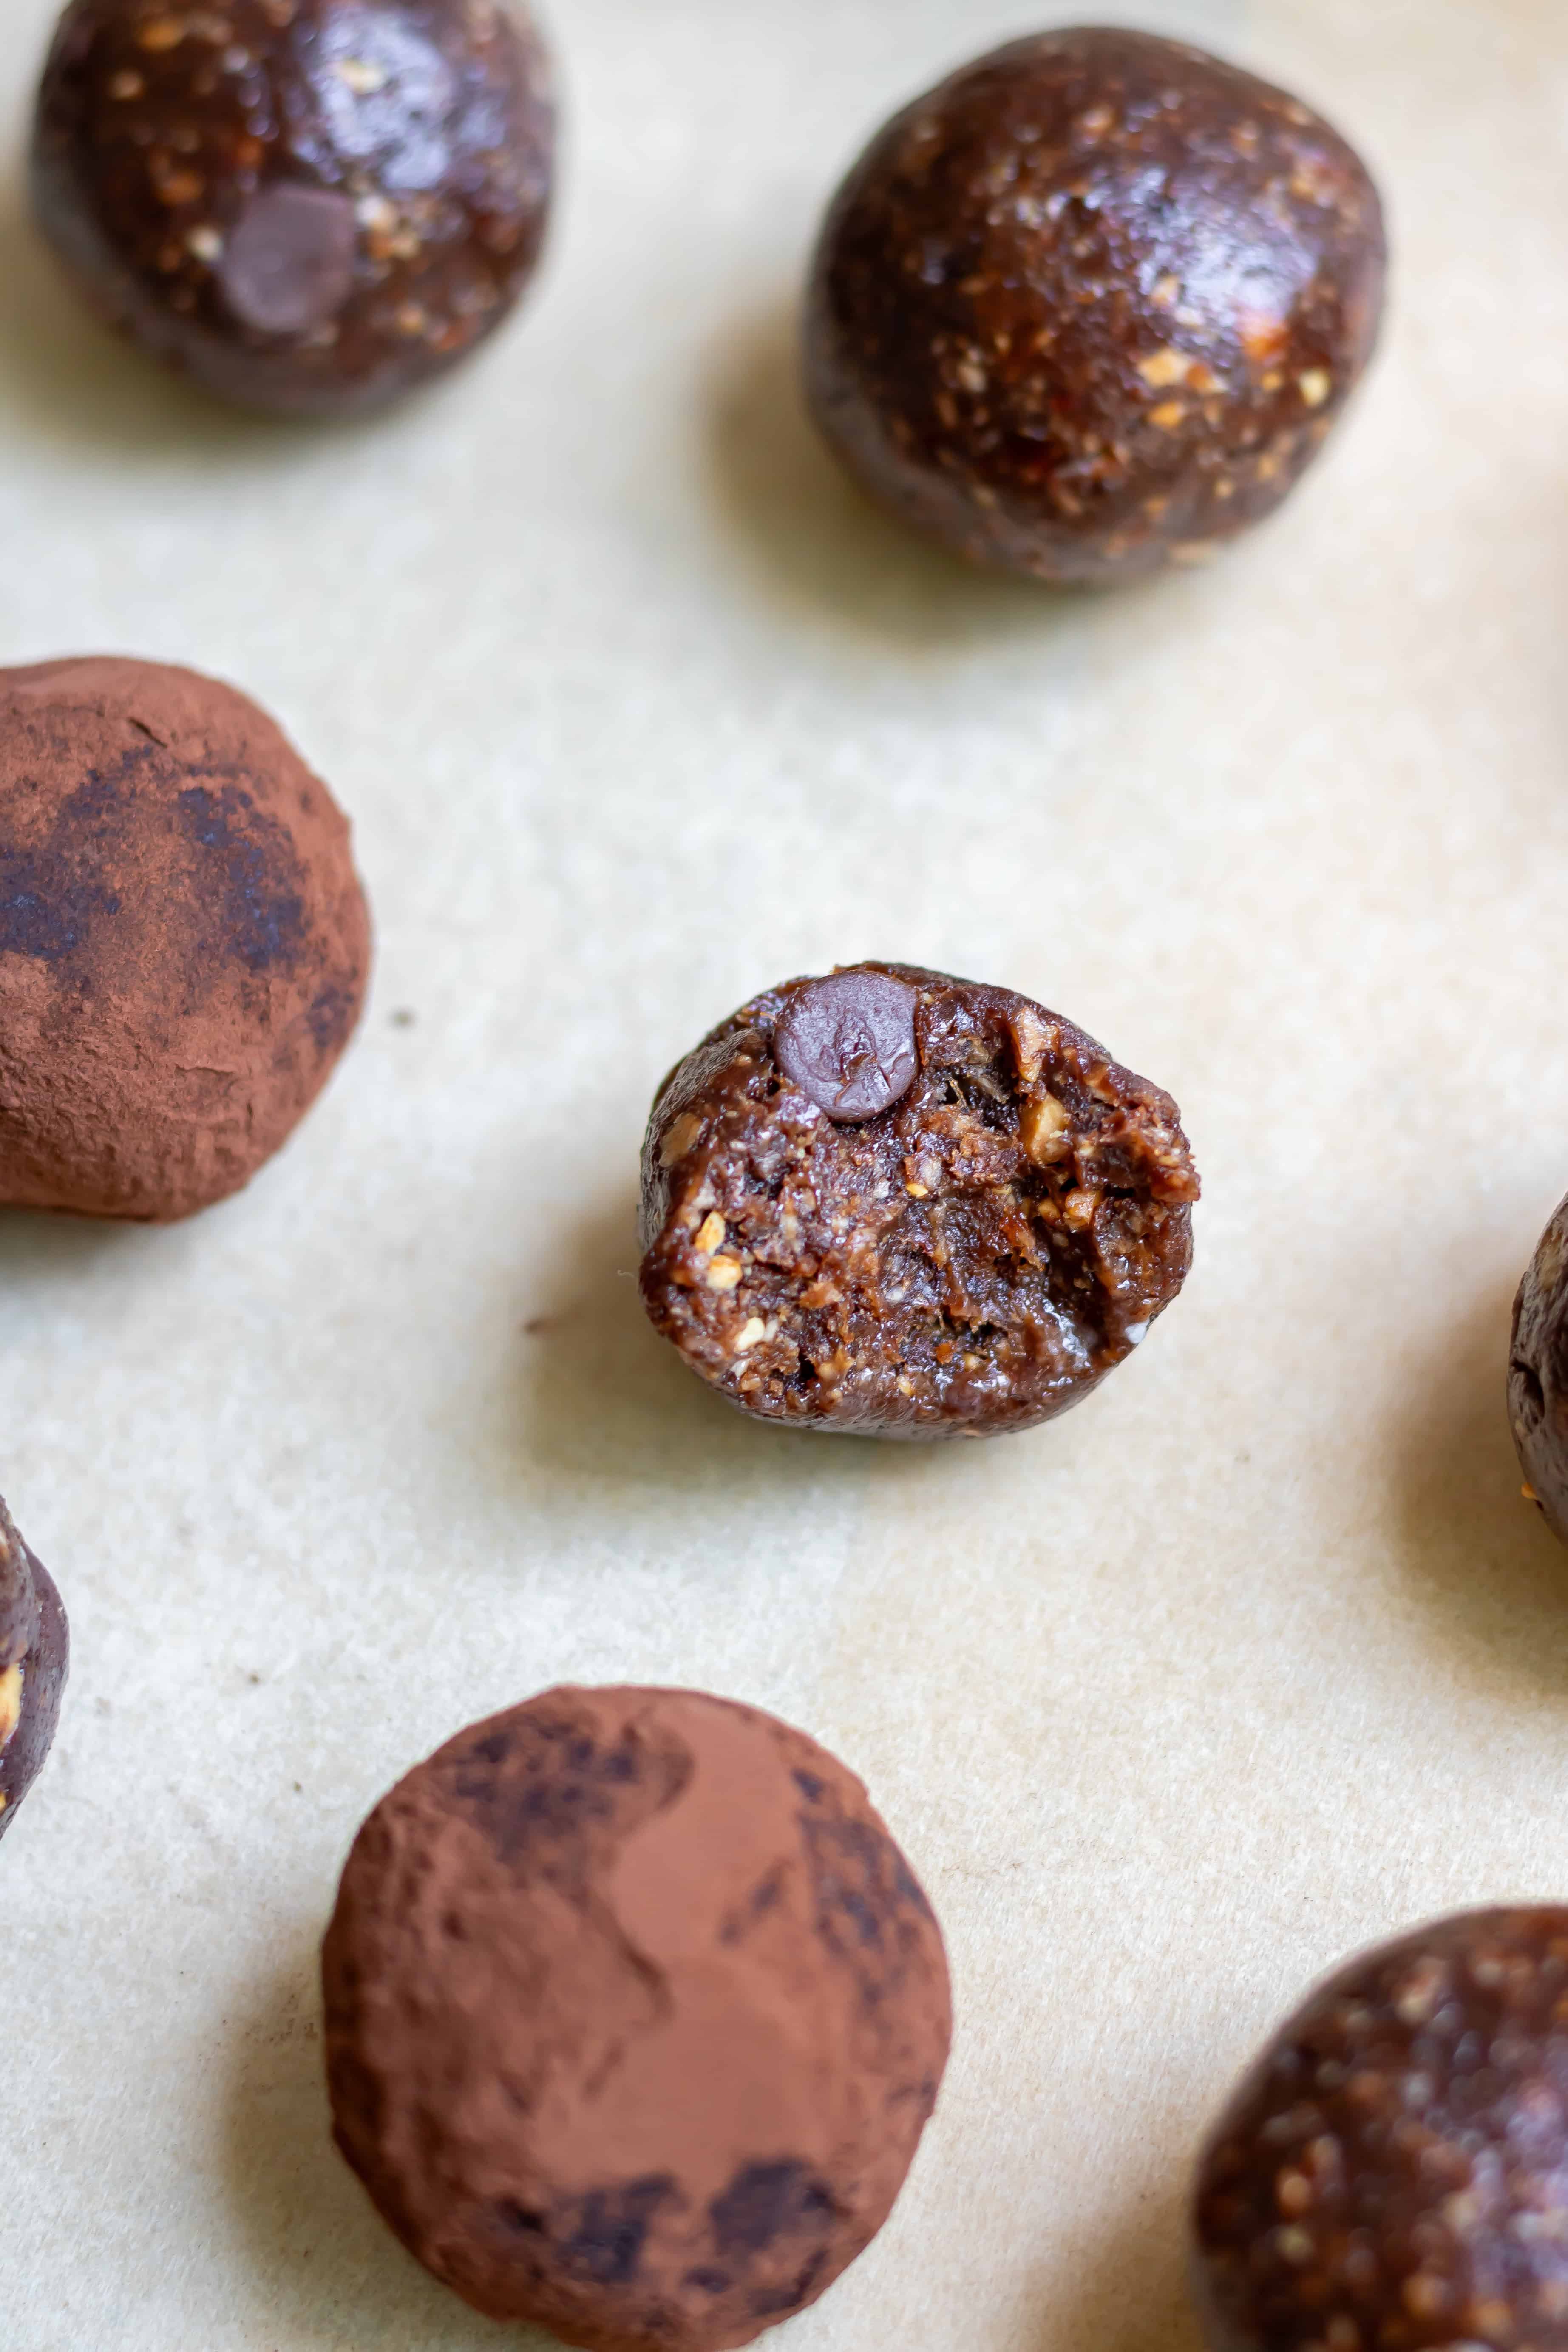
- Dark chocolate chips - Rather than blending them, I fold the dark chocolate chips into the finished mixture. They stay whole and create little bursts of chocolate that remind me of brownie chunks.
- Optional cocoa powder for rolling - Rolling the finished balls in cocoa powder gives them a classic brownie appearance and keeps the outside from feeling sticky when freshly made. I usually coat only half the batch so there's a bit of variety.
See the recipe card for quantities.
Instructions
Follow this step-by-step photo tutorial, then scroll down to the recipe card for the full ingredients list and method.
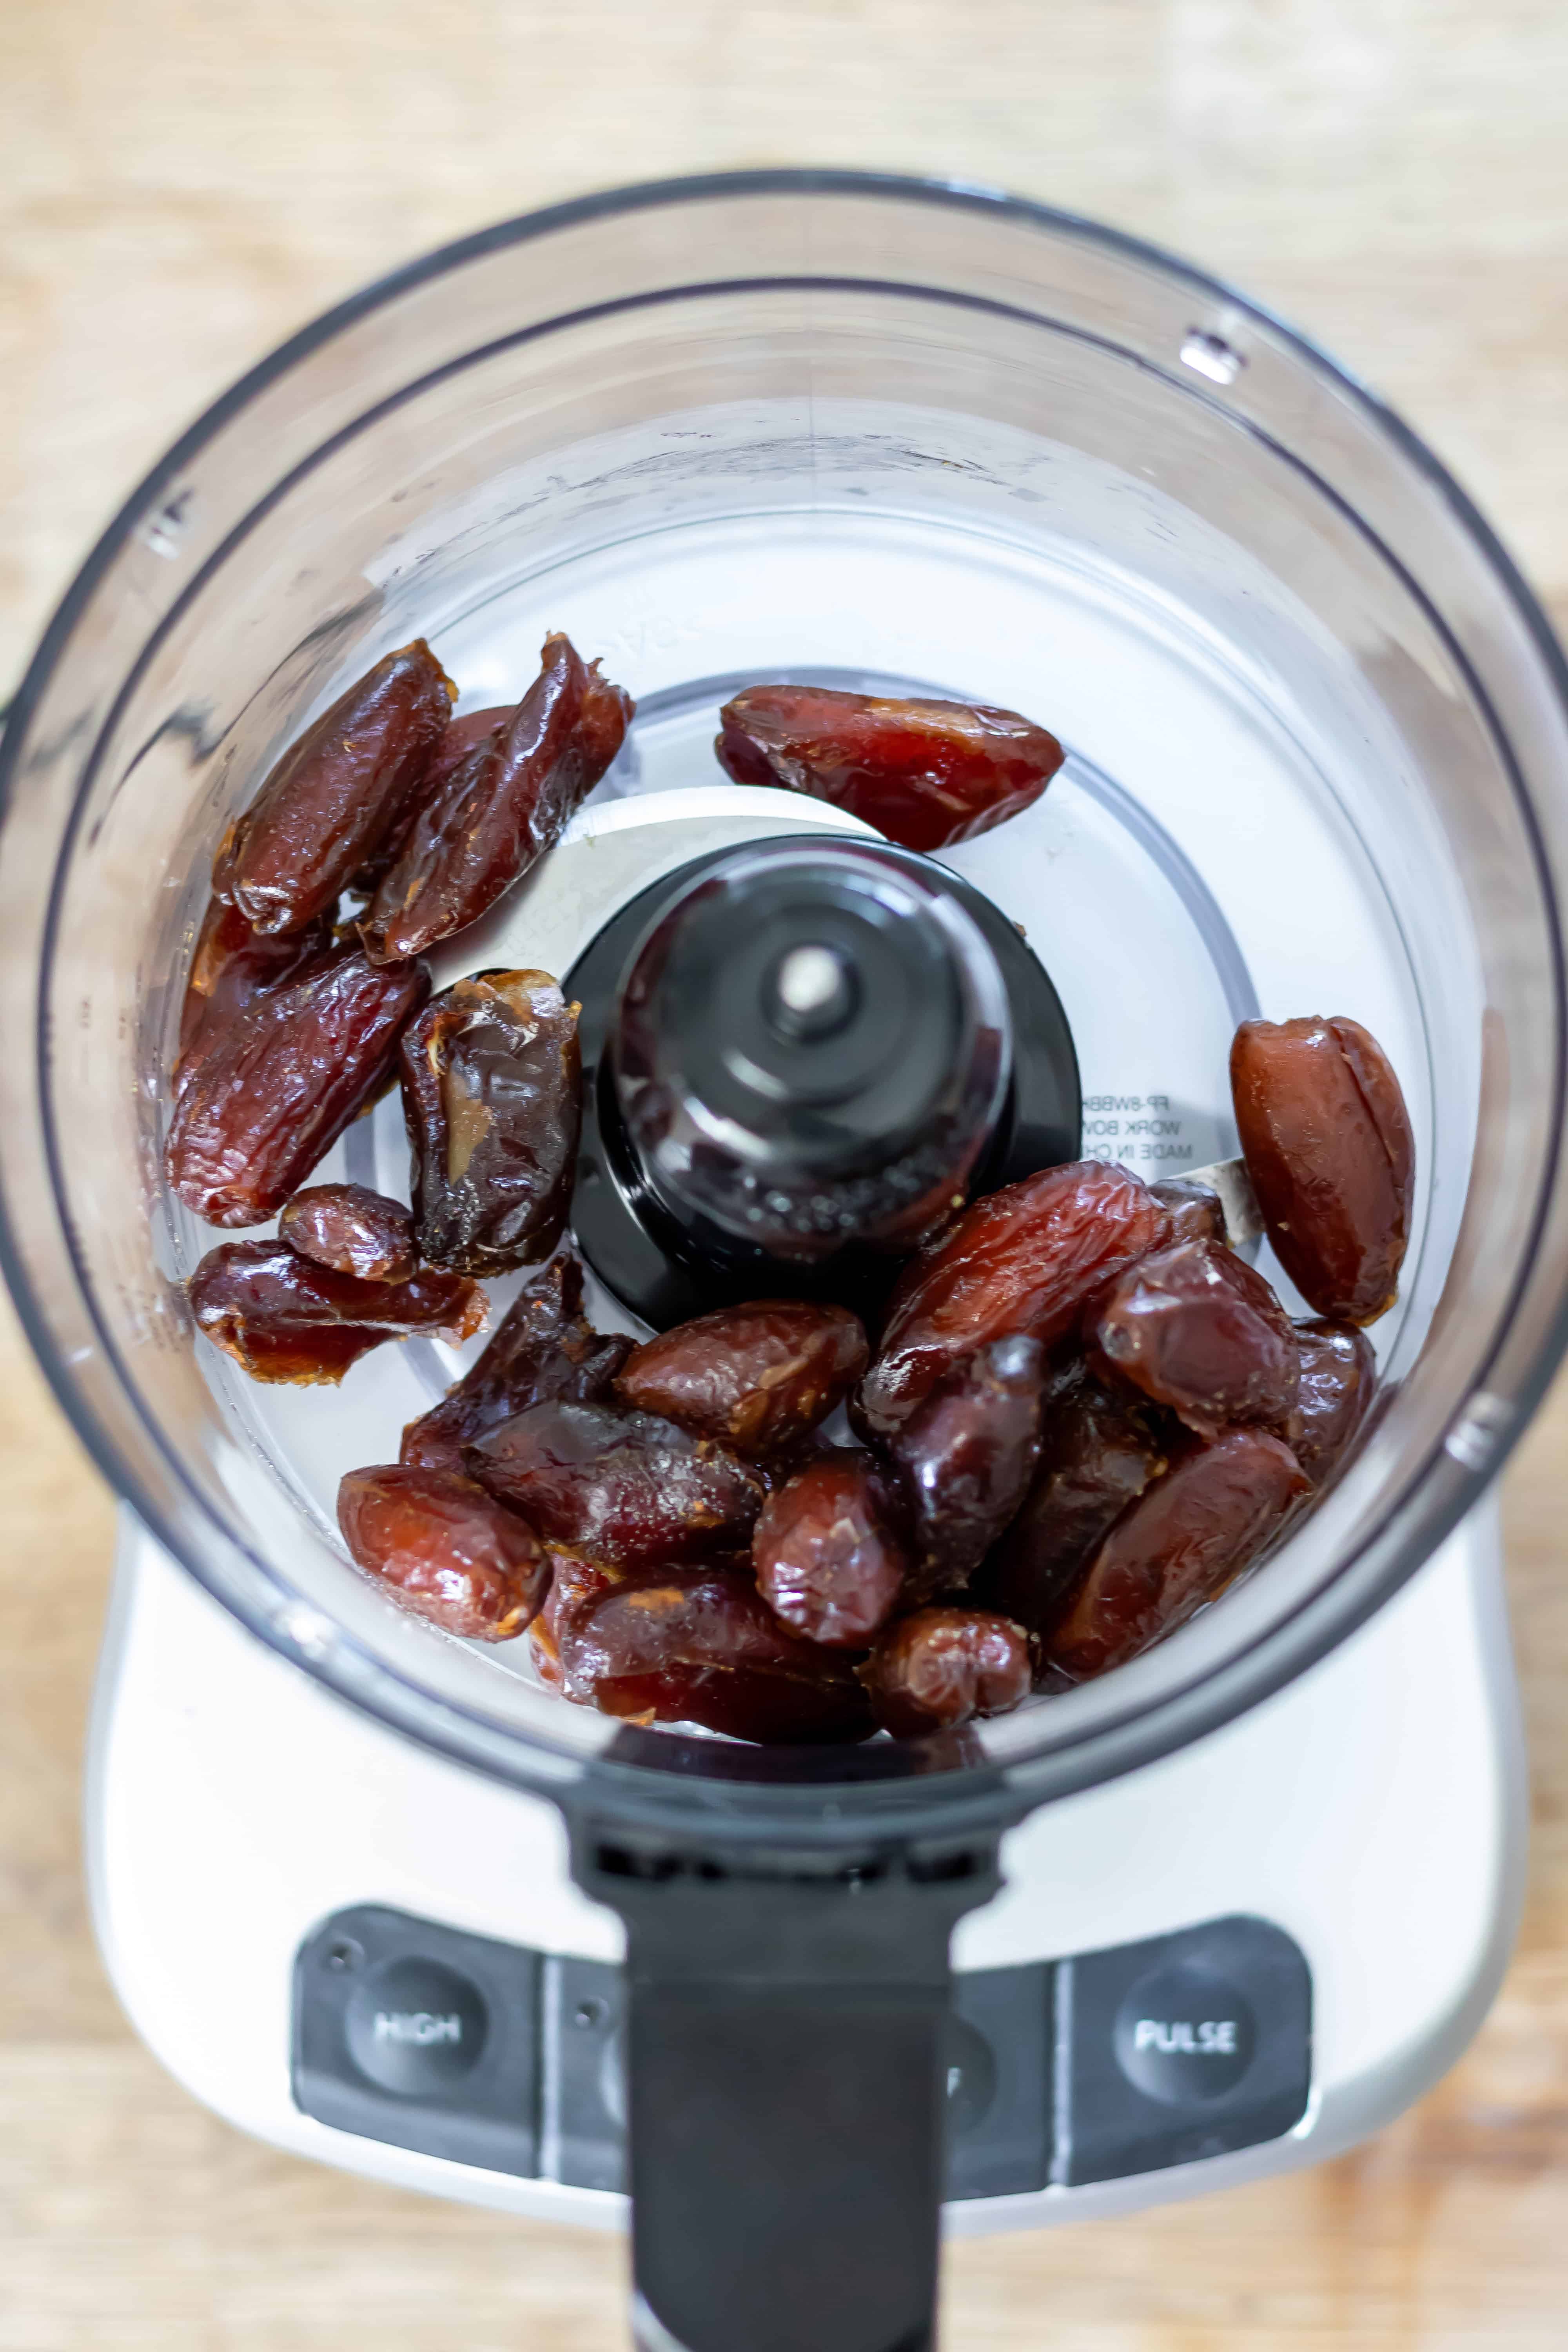
Prepare the dates - If your dates feel firm or slightly dry, place them in a bowl of warm water for about 10 minutes. Drain them thoroughly and pat away any excess water before using them.
I've learned not to skip this step when the dates aren't especially soft. It doesn't take long, but it helps them blend into a smooth paste instead of leaving little chewy pieces throughout the mixture.
Make sure all the pits are removed.
Start blending - Add the dates to a food processor and pulse a few times until they're roughly chopped.
This gives the blades a head start and prevents one large clump of dates from sticking underneath the blade. It only takes a few seconds but makes the next stage much easier.
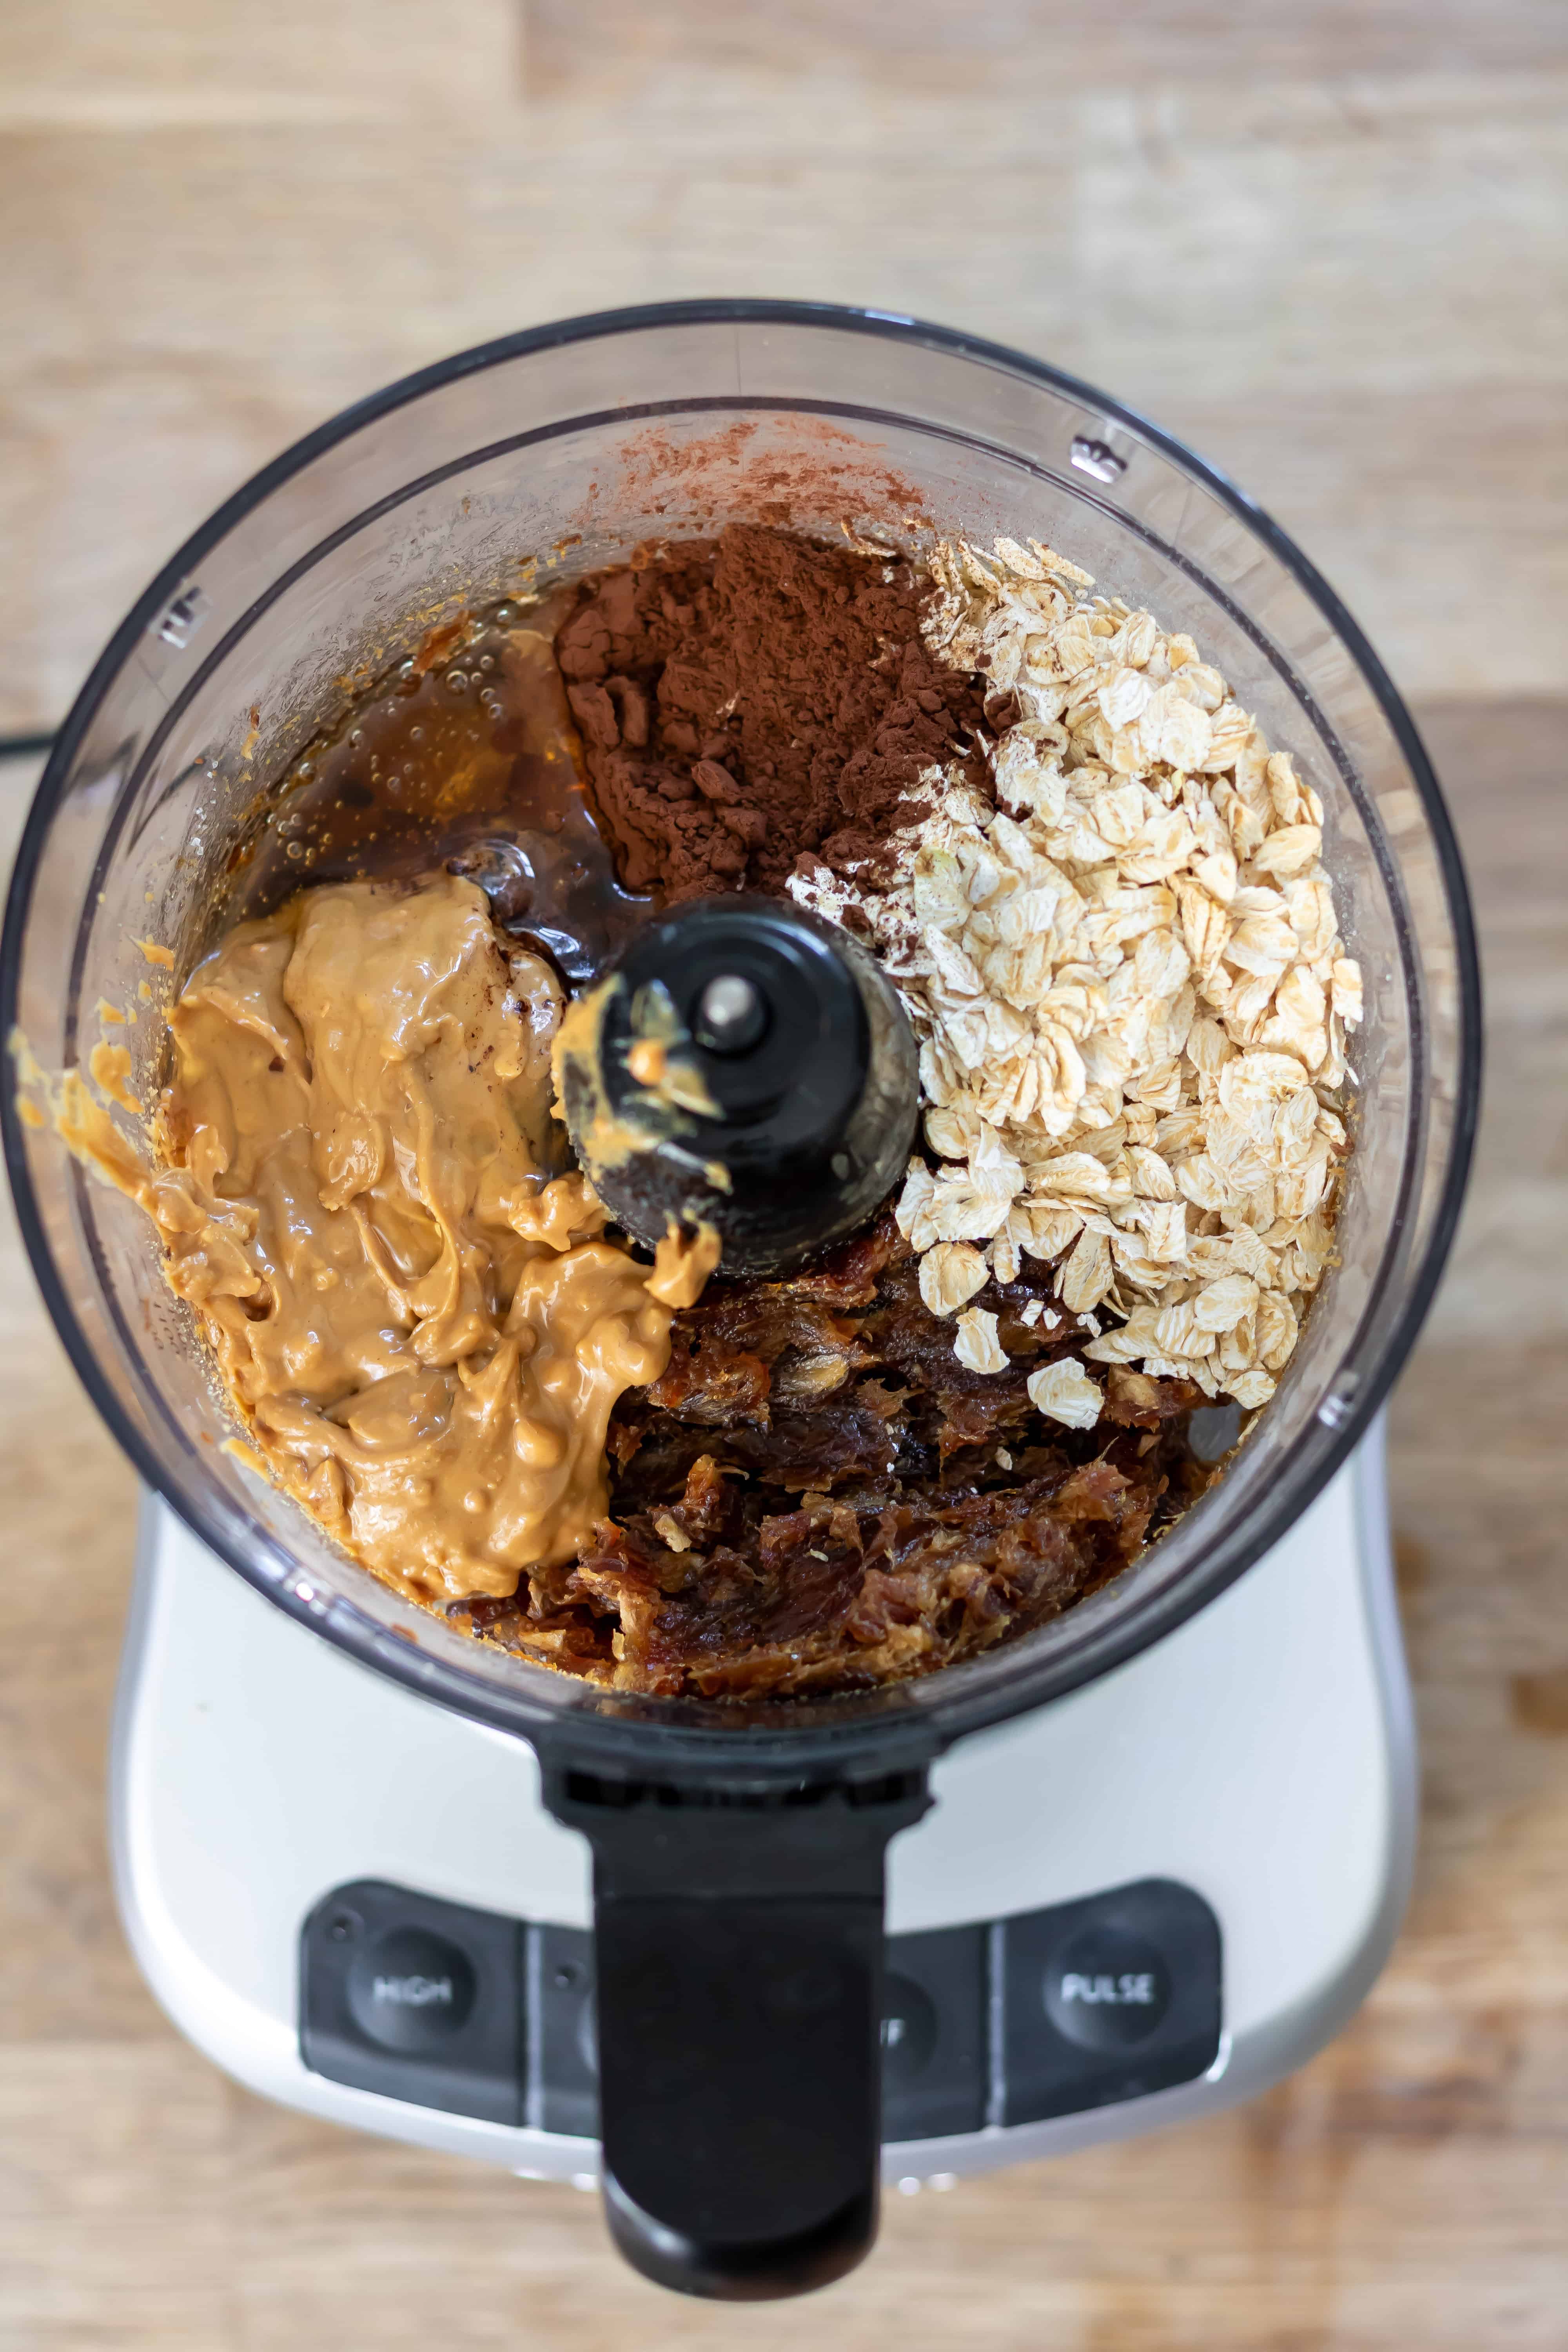
Add the rolled oats, peanut butter, cocoa powder, honey or maple syrup, ground flaxseed, vanilla extract and the pinch of sea salt.
Process everything together until the mixture starts forming a thick paste.
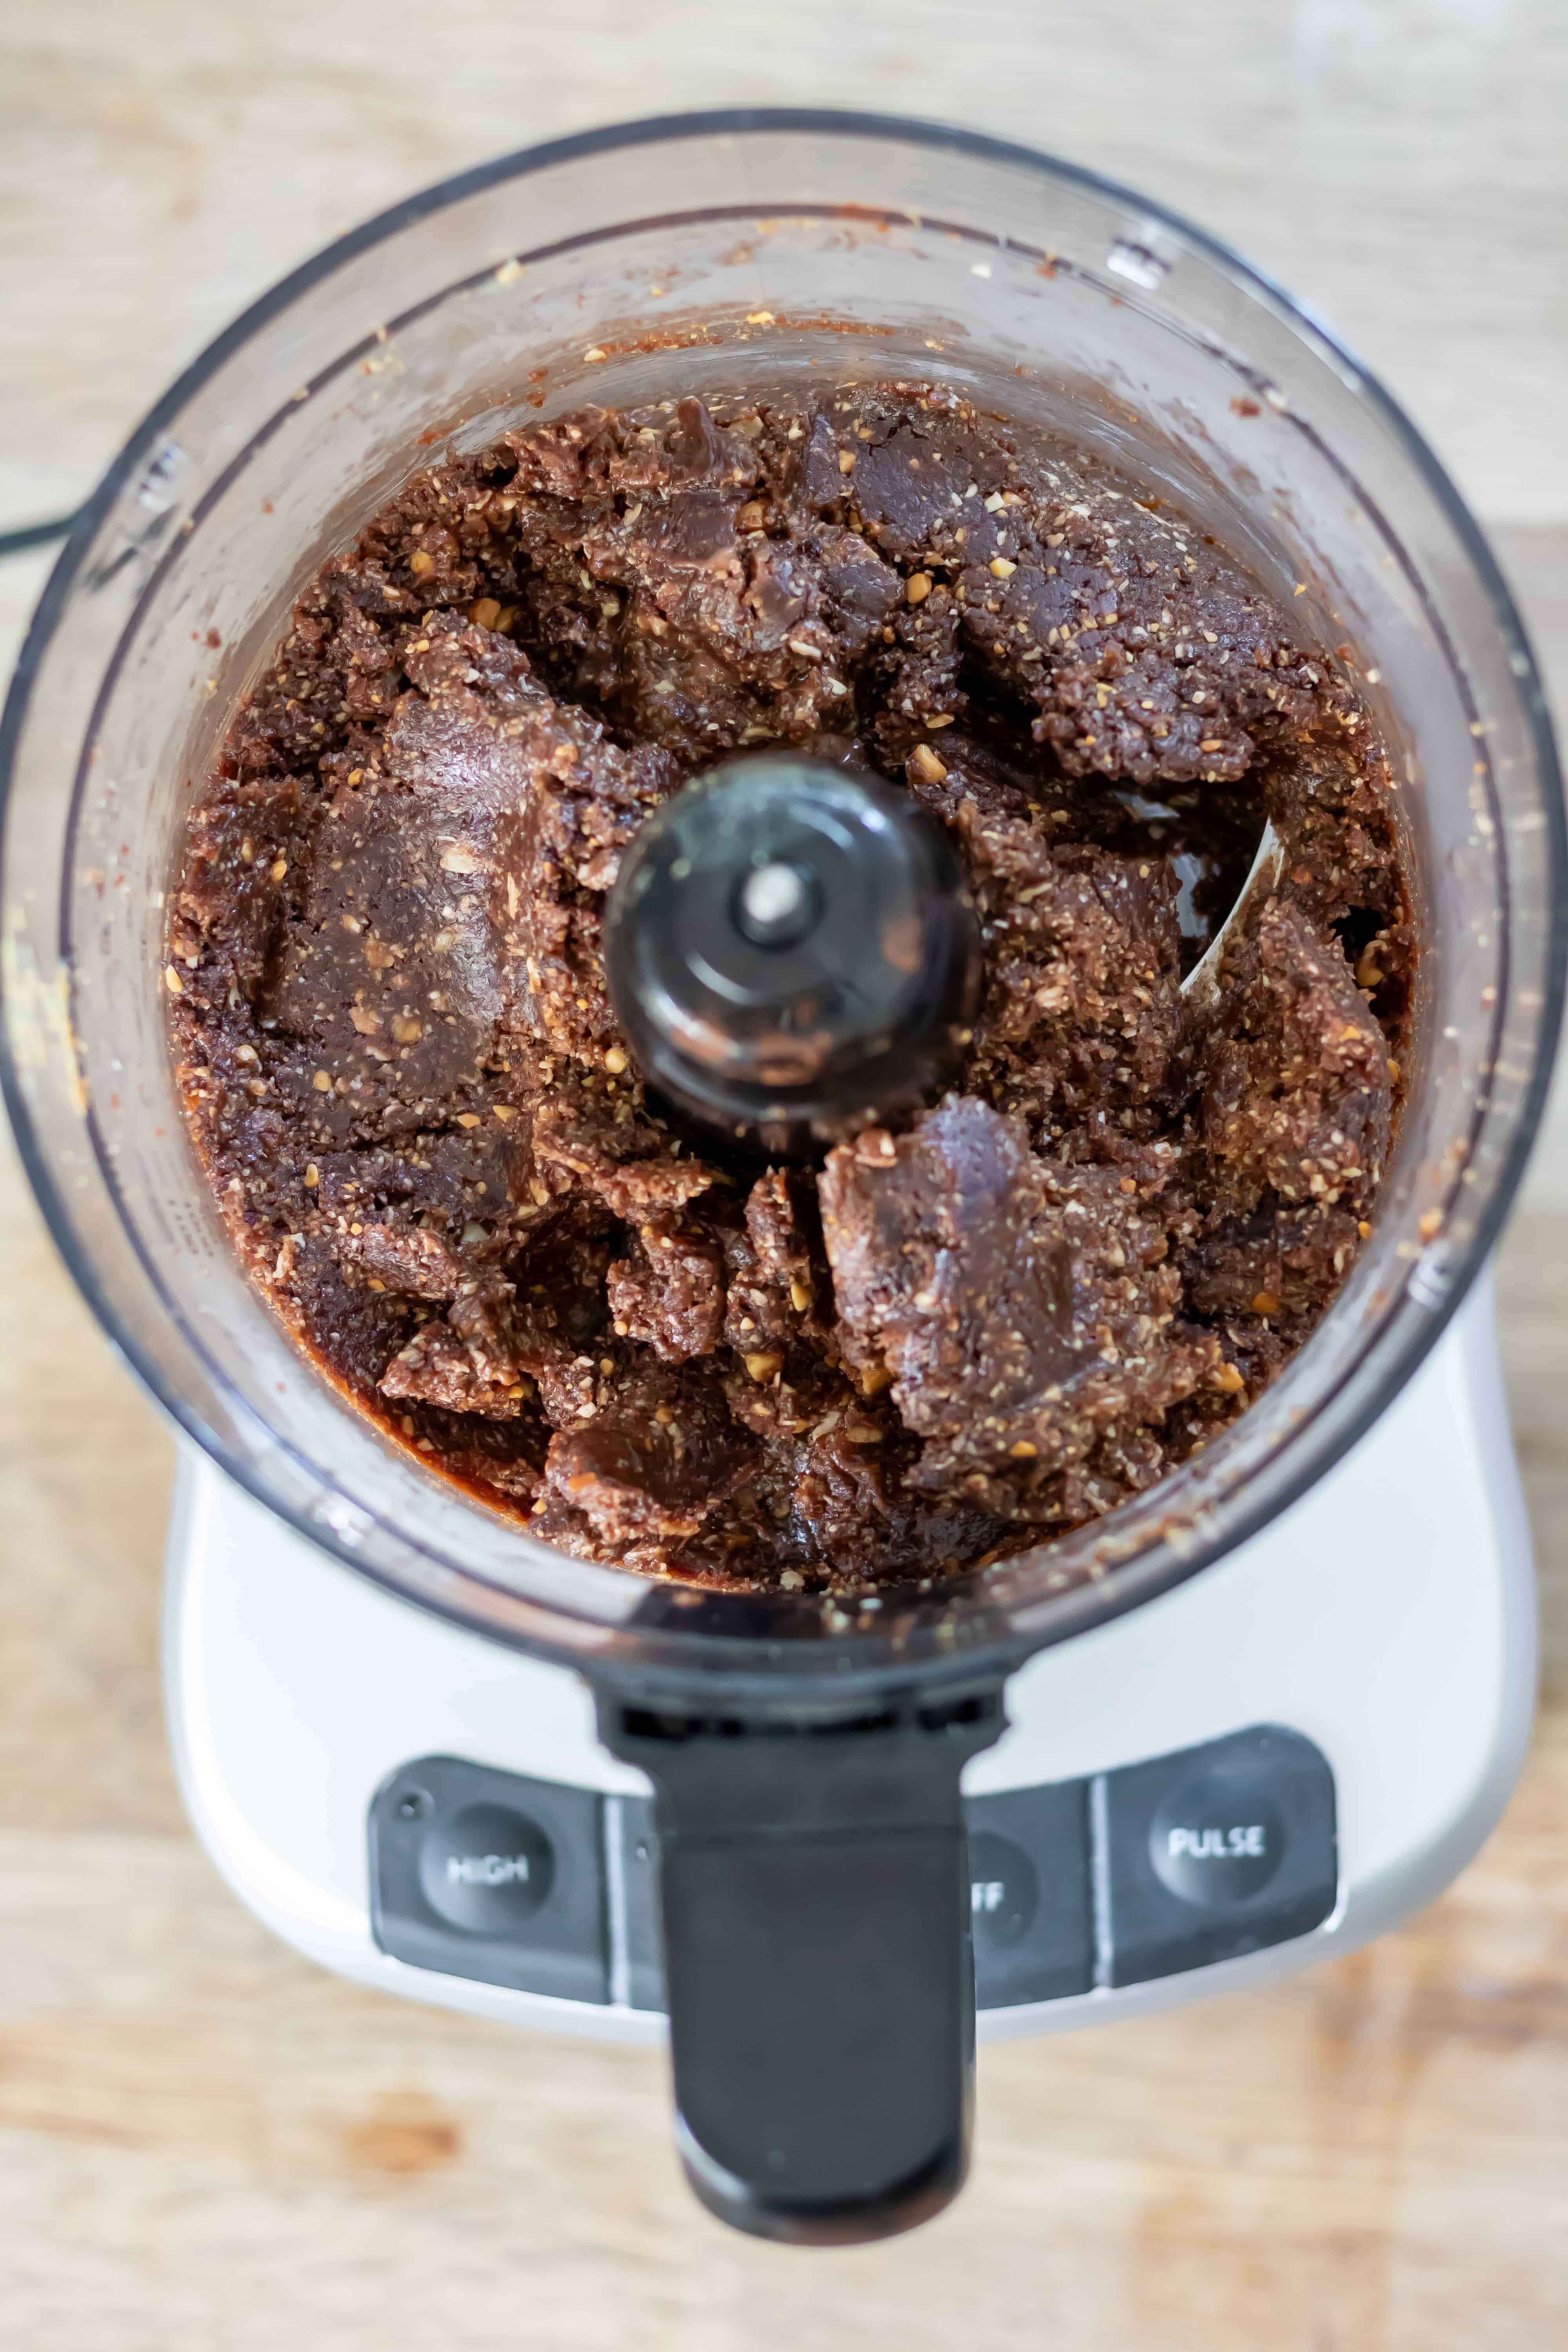
At first it may look dry and crumbly. That's completely normal. I usually stop the processor several times to scrape the sides down before blending again. After another minute or so, the mixture suddenly comes together into one soft mass.
Pinch a little of the mixture between your fingers.
If it sticks together easily, it's ready.
If it still crumbles apart, add one tablespoon of water and process again. Repeat only if necessary.
It's tempting to add lots of liquid straight away, but I've found it's much easier to correct a mixture that's slightly dry than one that's become too wet.
If the mixture feels overly sticky, blend in another tablespoon of oats until it's easier to handle.
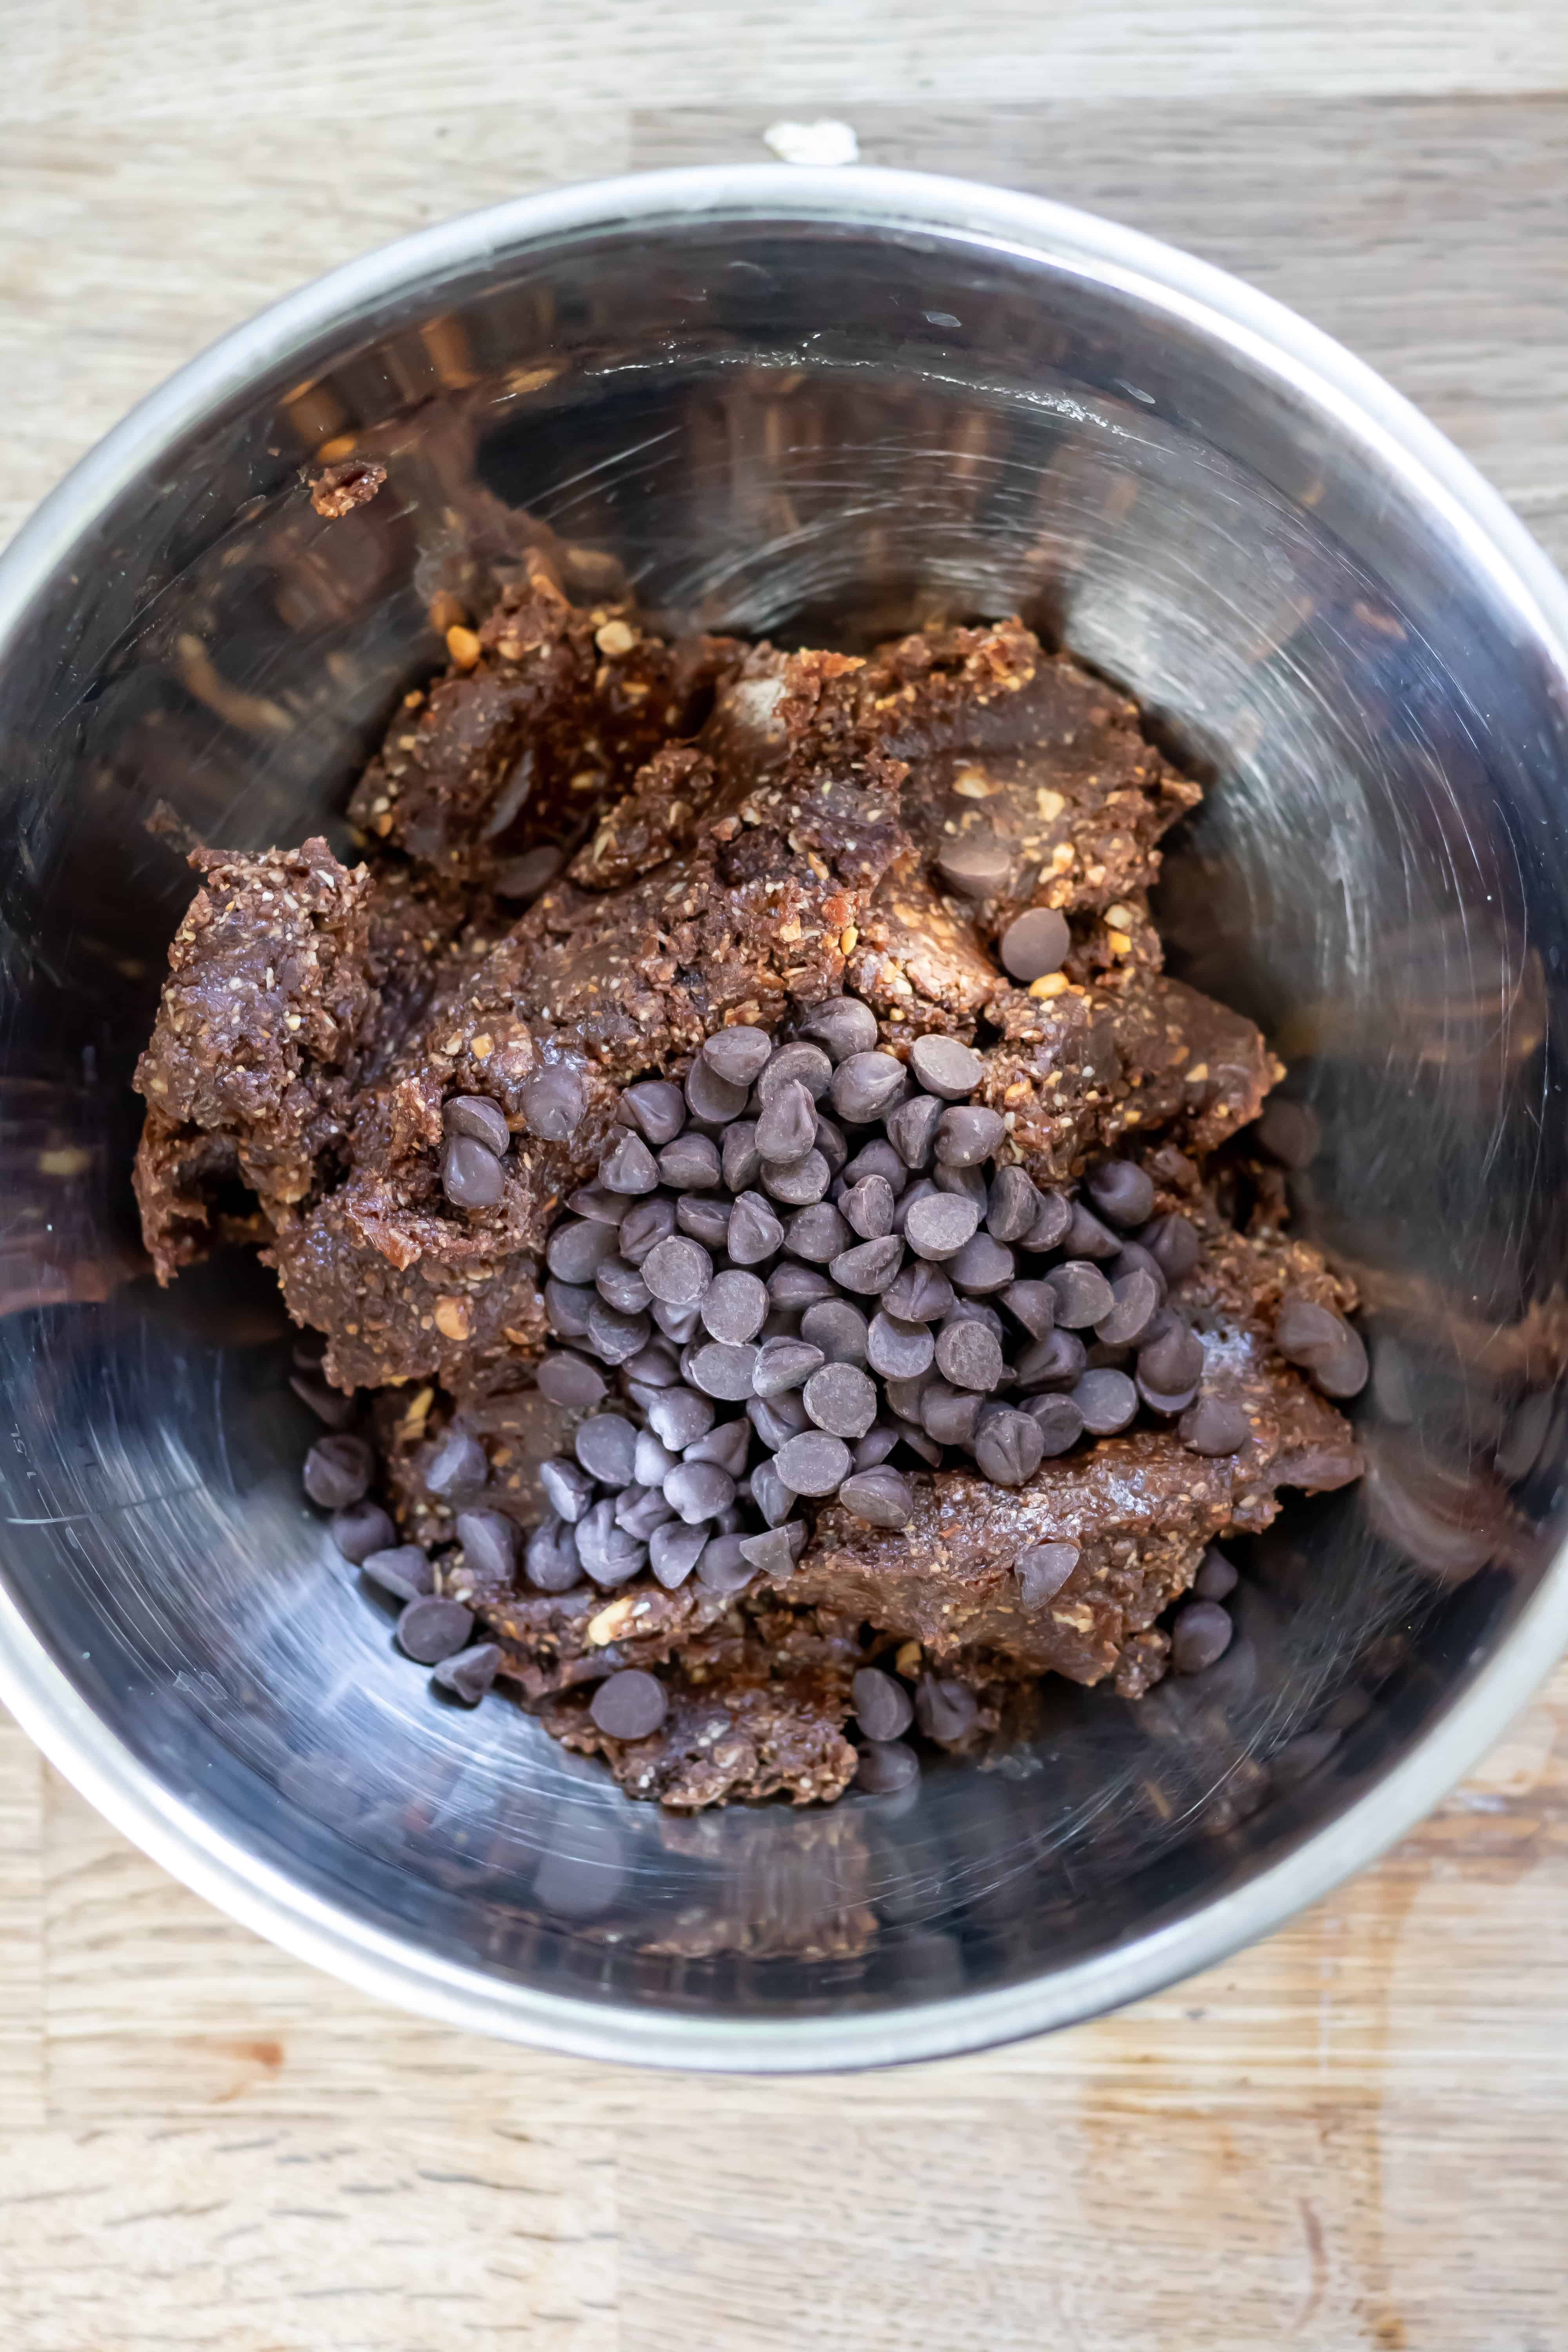
Transfer the mixture to a bowl. Fold in the dark chocolate chips using a spoon or spatula.
I always do this by hand rather than in the food processor. Keeping the chocolate chips whole gives every bite a little contrast against the smooth brownie mixture.
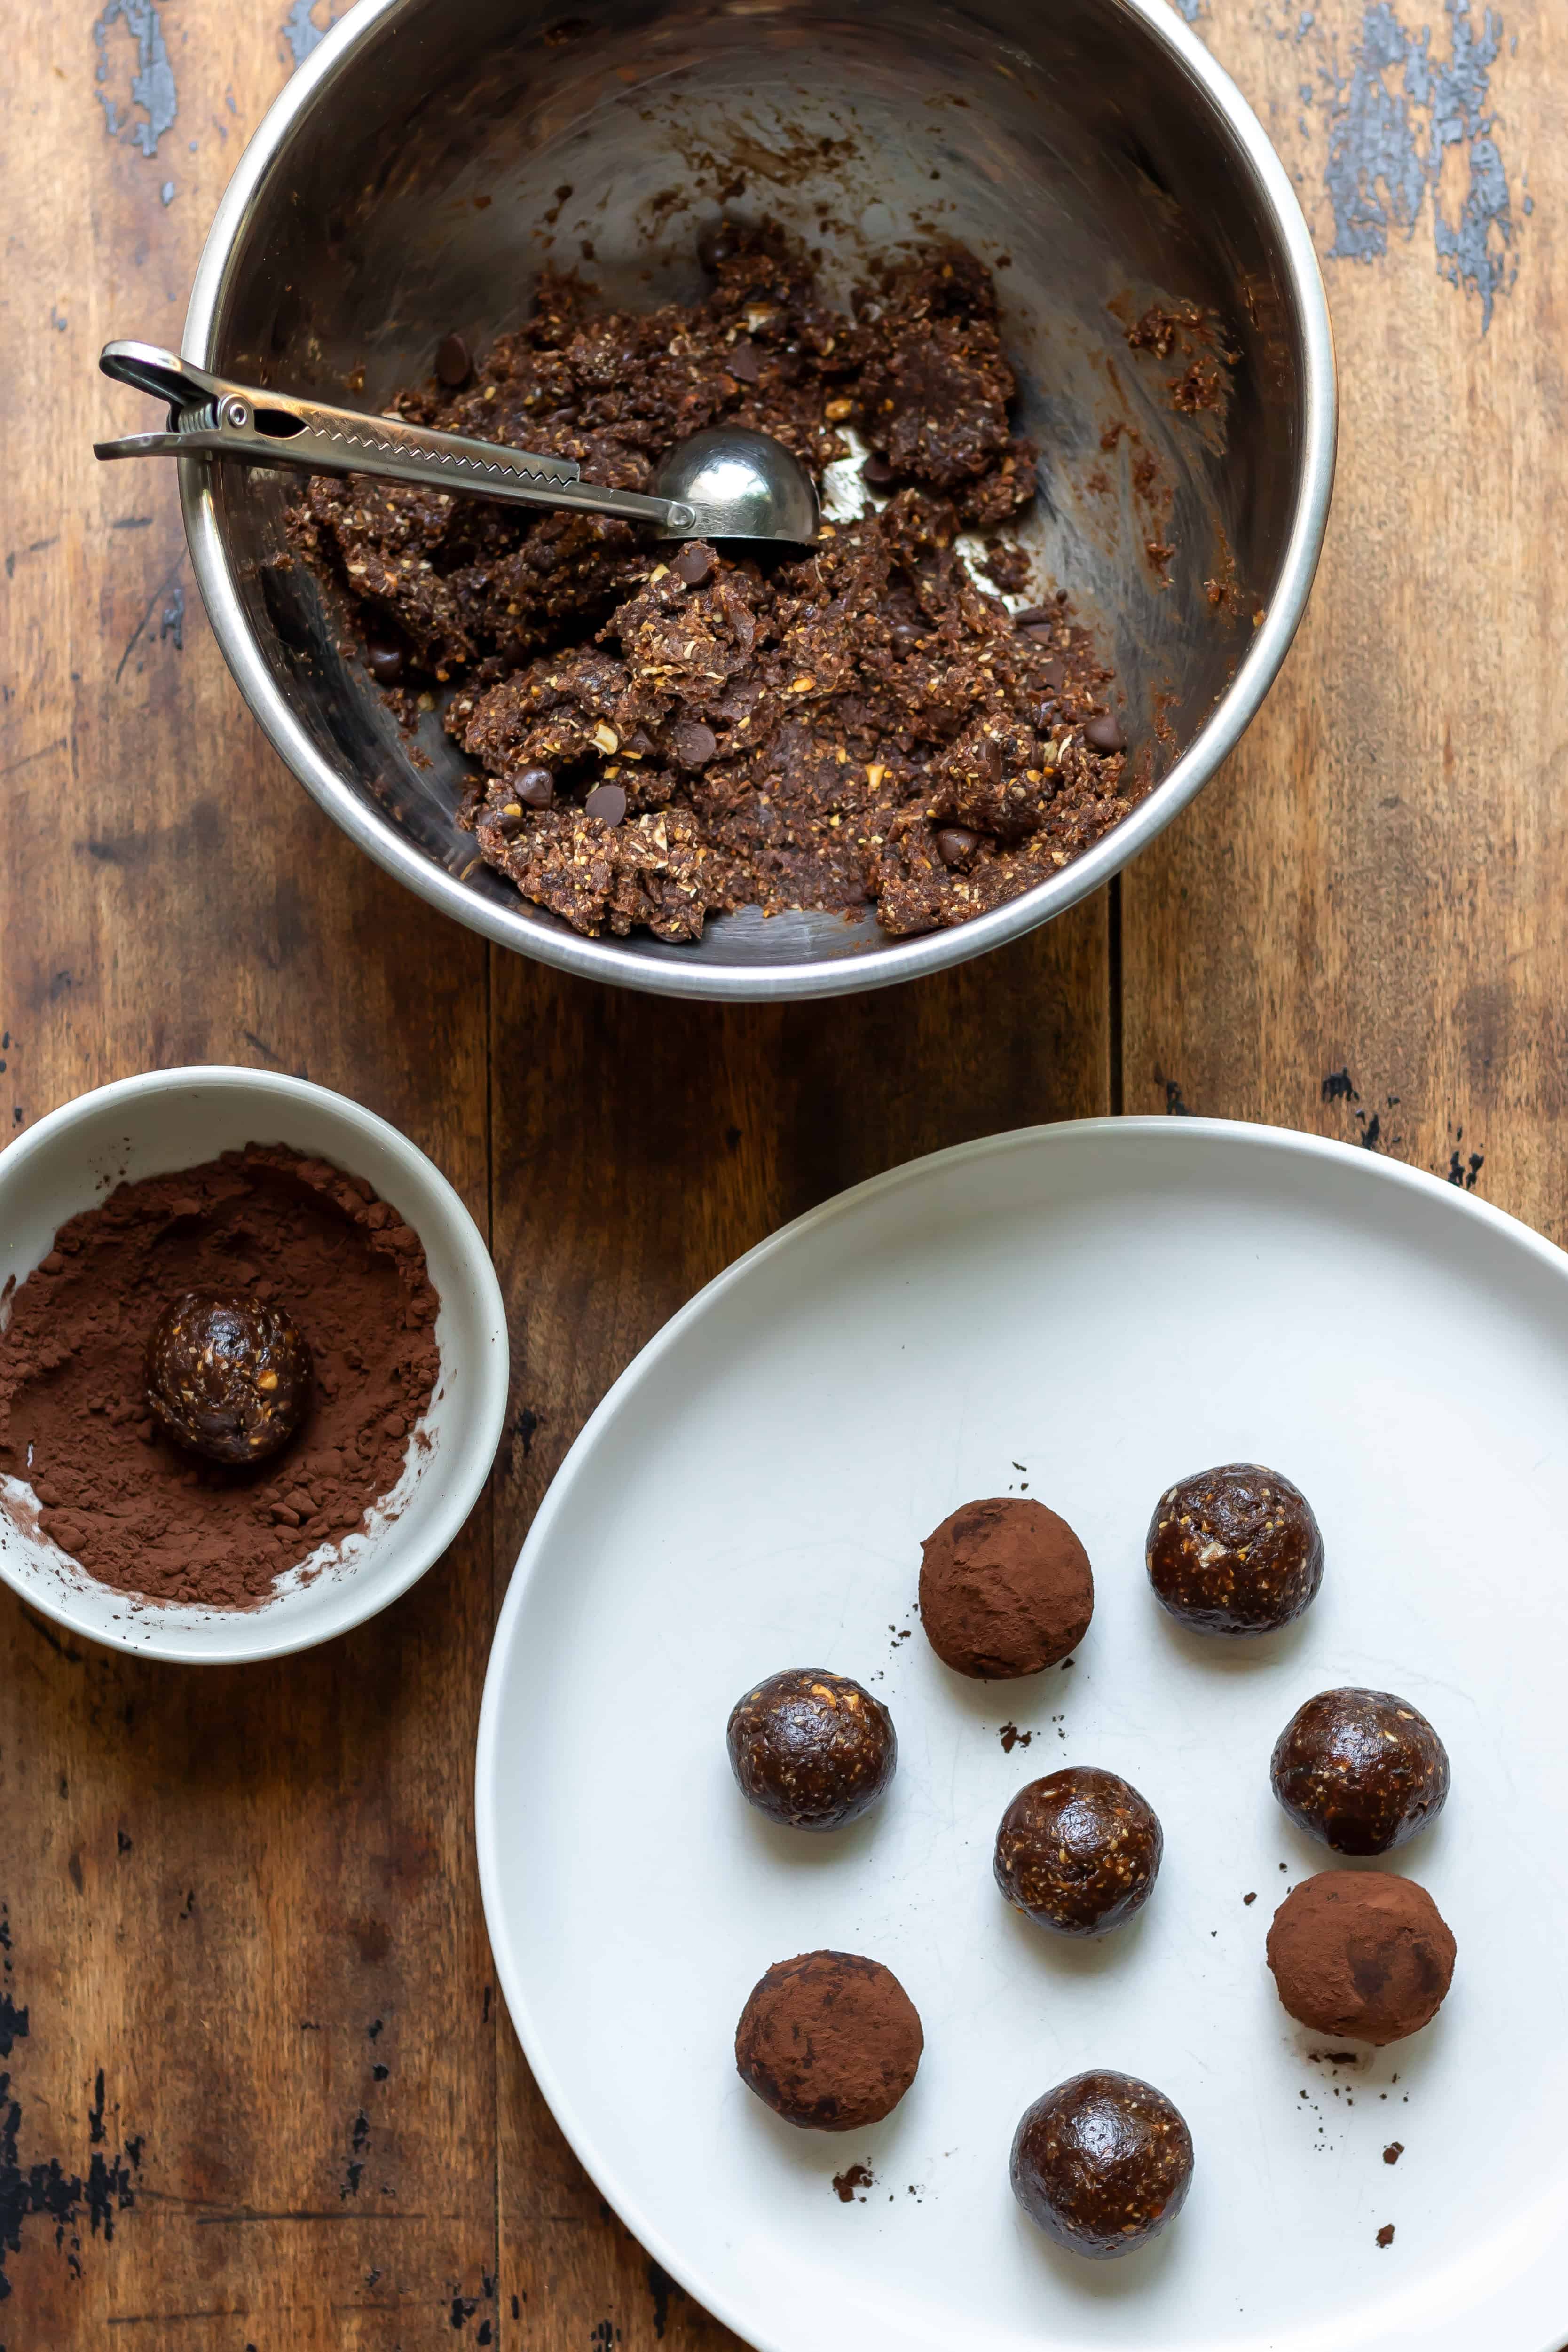
Using a tablespoon or small cookie scoop, portion the mixture into even pieces.
Roll each portion gently between your hands until smooth.
If the mixture starts sticking to your palms, lightly dampen your hands with water, or chill the mixture in the refrigerator. I do this nearly every time, especially during warmer weather.
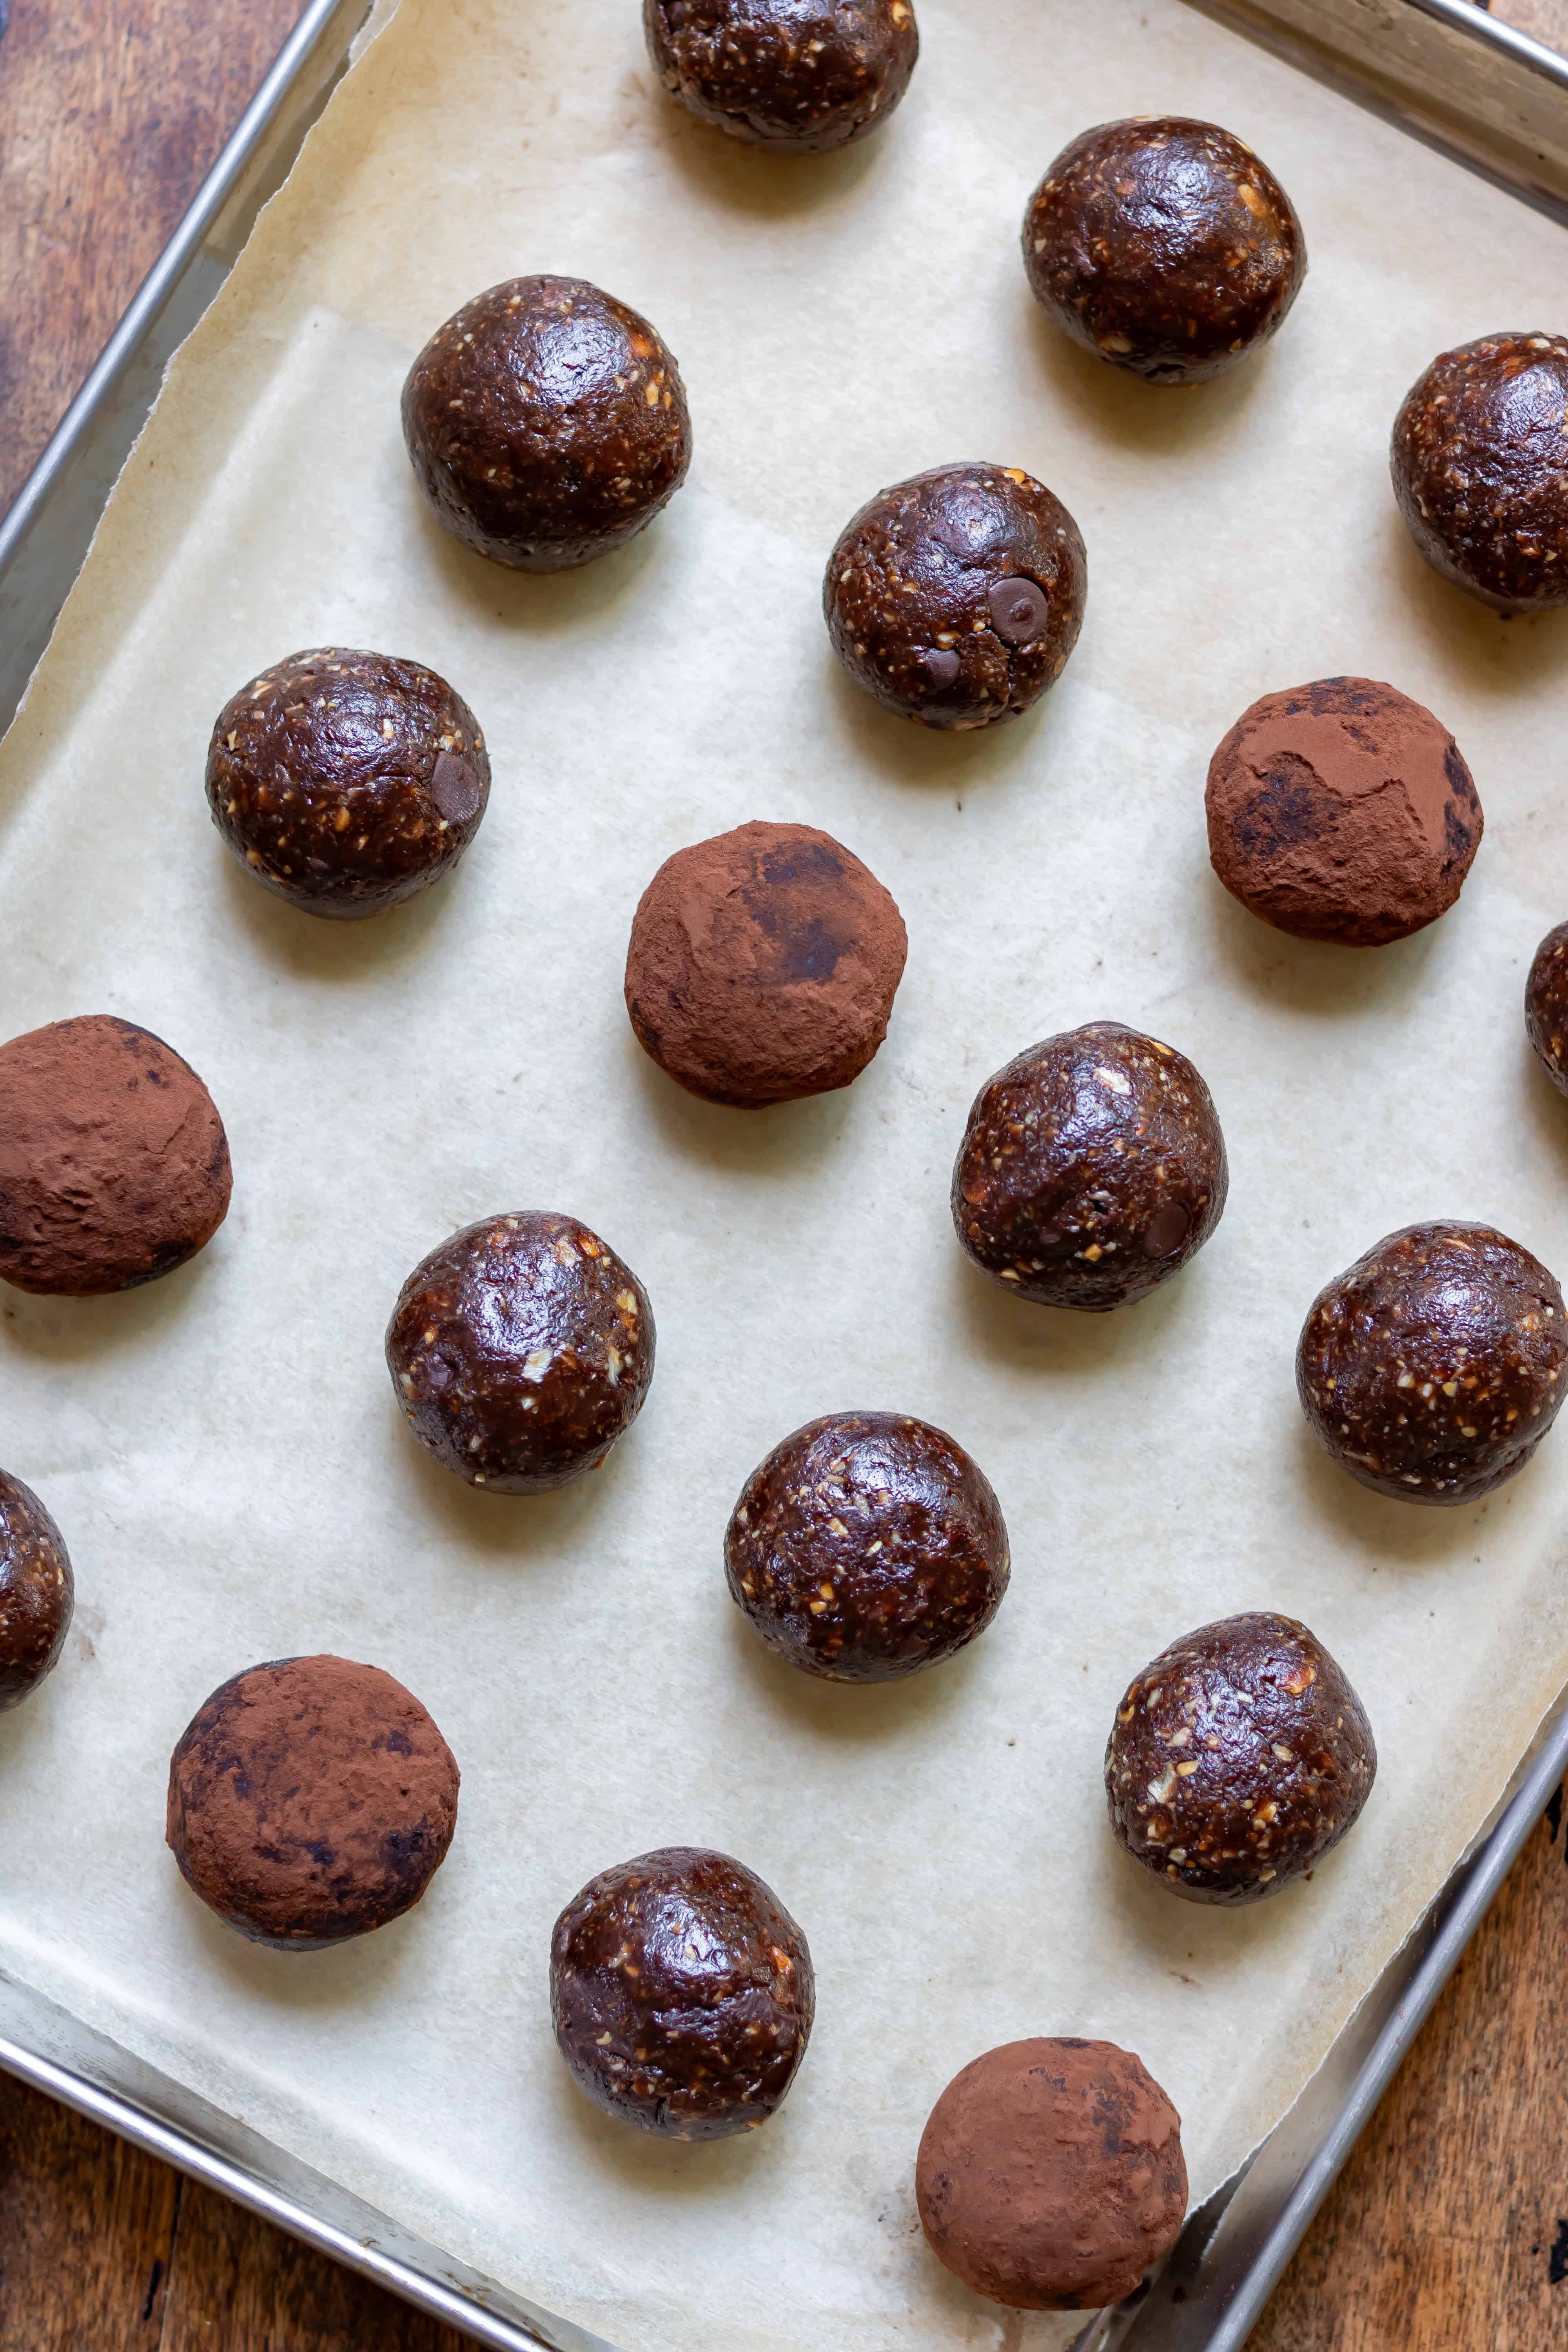
Roll some or all of the energy balls in cocoa powder.
The coating isn't essential, but it gives them a classic brownie appearance and makes them slightly less sticky when freshly rolled.
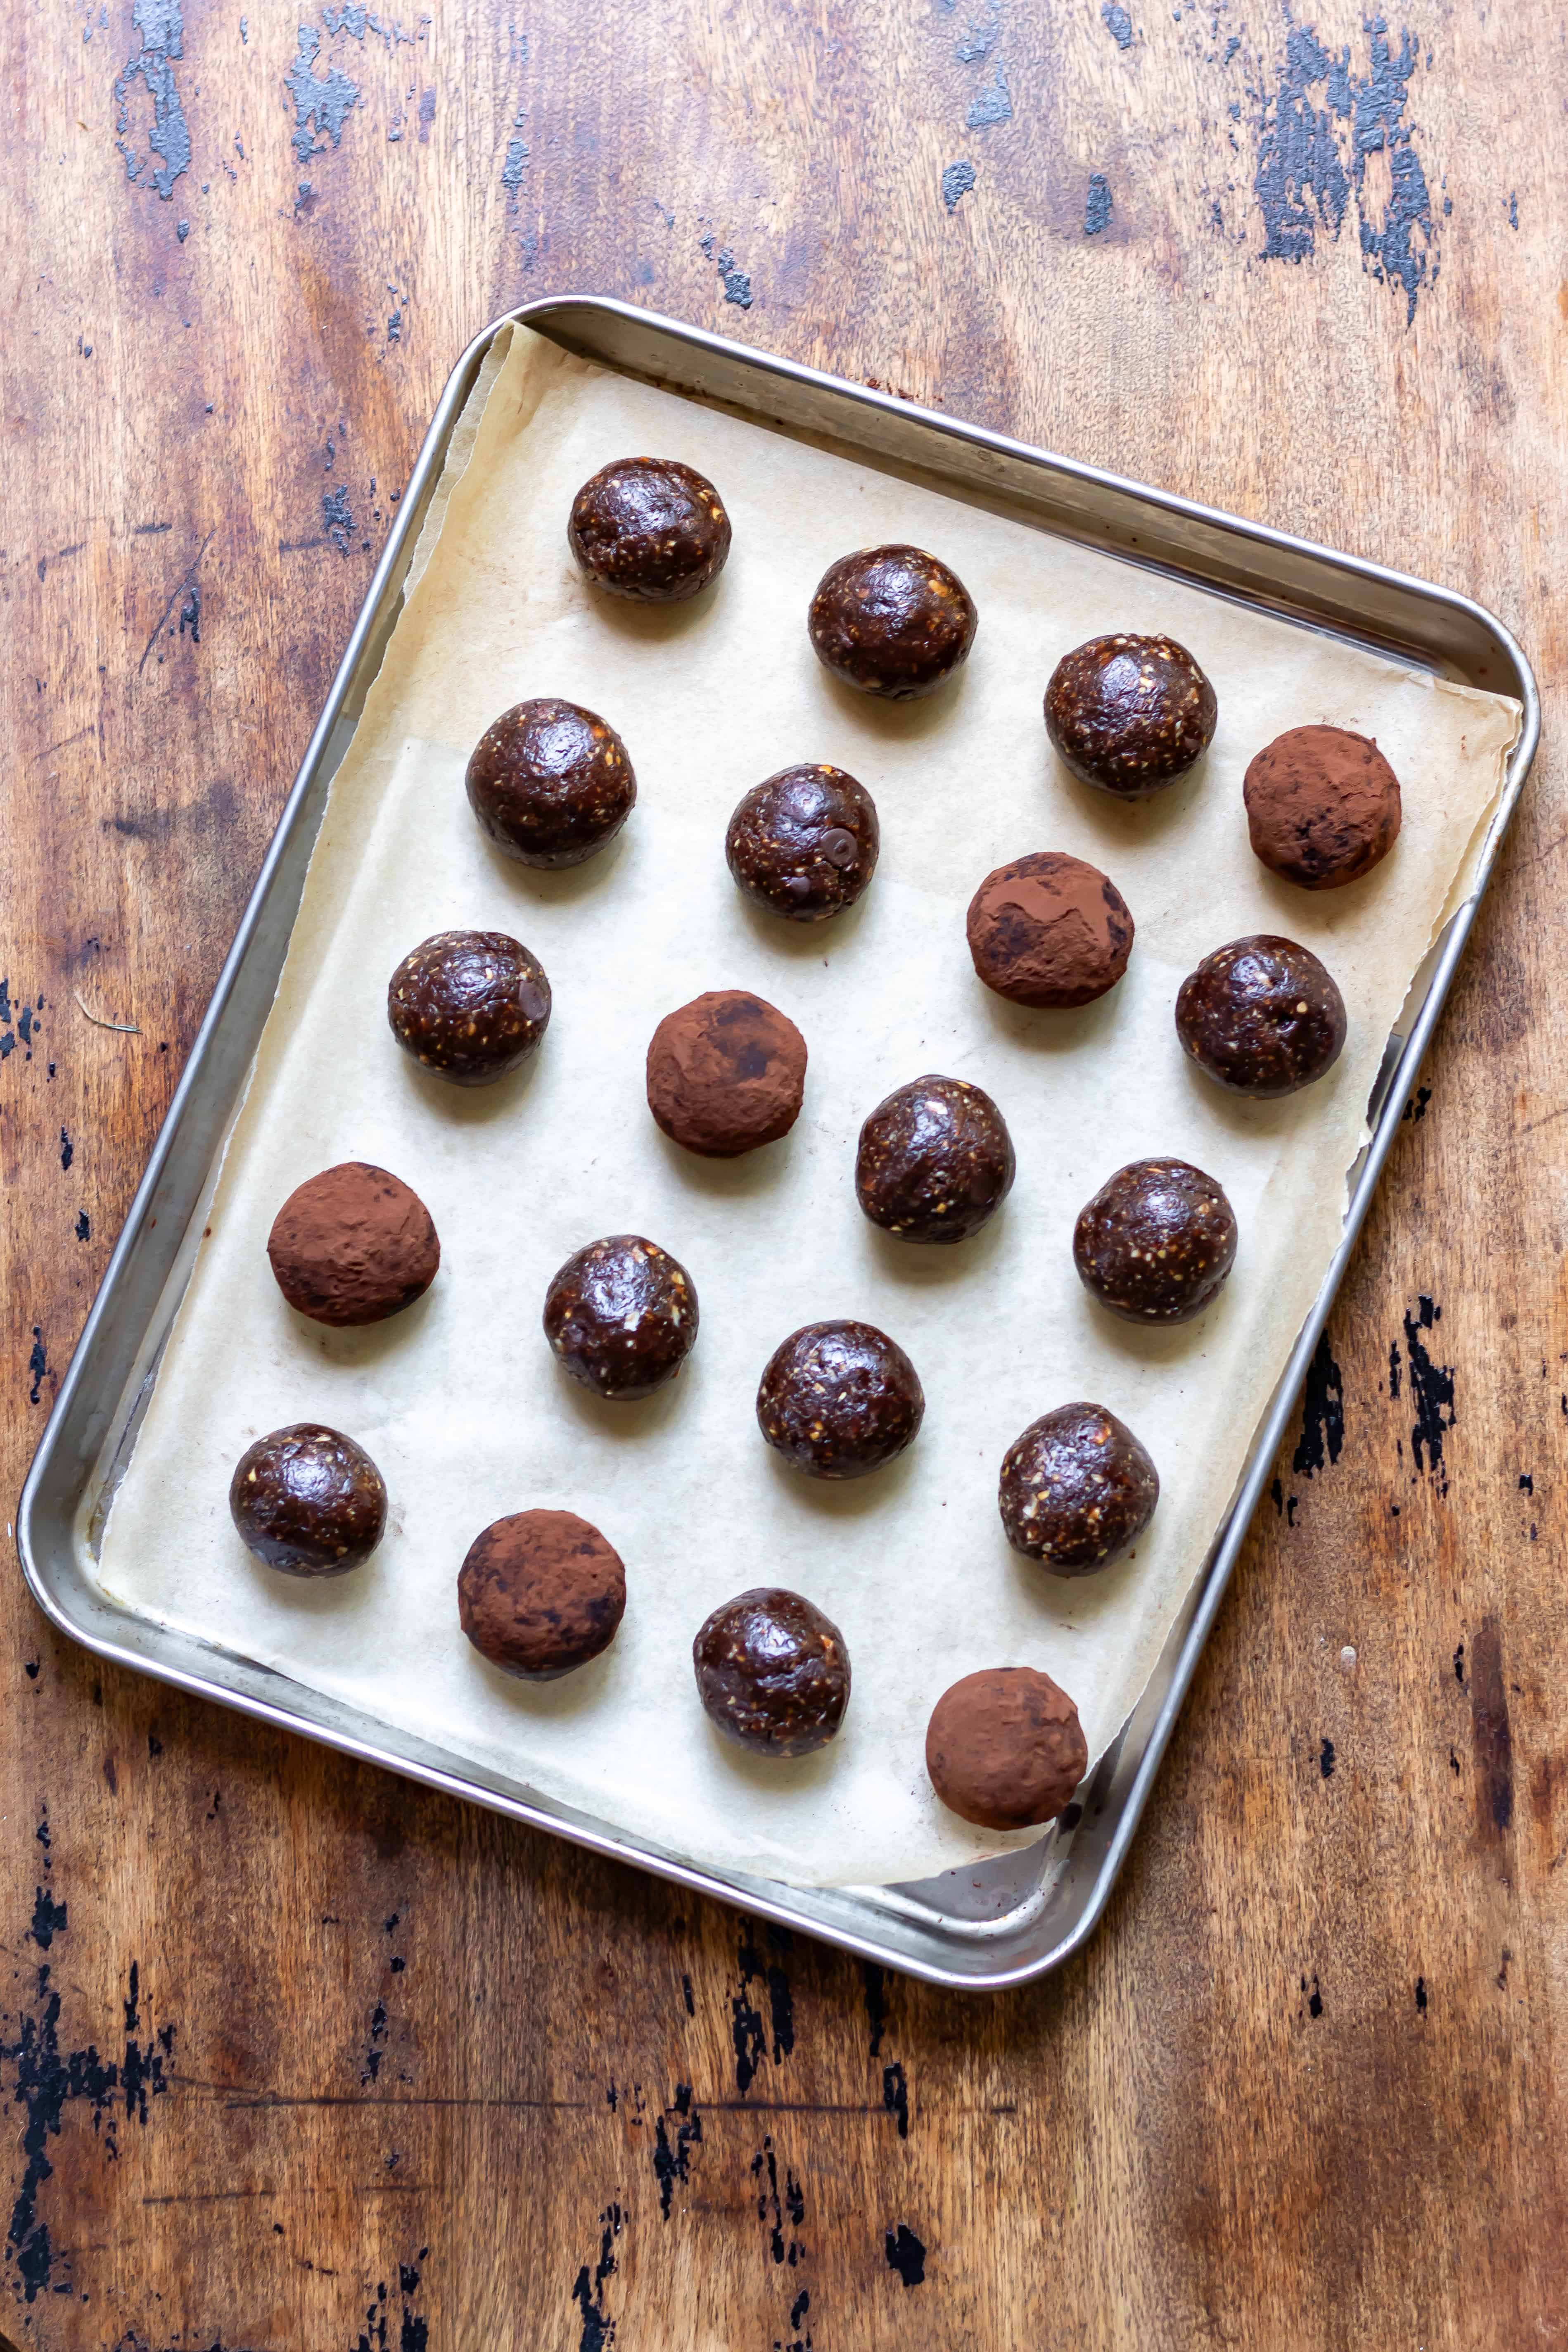
Arrange the finished balls on a tray or plate and refrigerate for at least 30 minutes.
This allows them to firm up and gives the oats time to absorb a little more moisture.
I actually think they taste even better after a few hours in the fridge, when the flavours have had time to settle together.
Serving Suggestions
These little energy balls are surprisingly versatile and fit into plenty of occasions.
- Enjoy two or three alongside your morning coffee (try them with Hawaij Coffee, Coffee Milk or Sweet Potato Latte.
- Enjoy 1 or 2 as an afternoon snack.
- Include them on a homemade snack board with nuts, grapes and cheese.
- Keep a few in the fridge for busy weekday breakfasts.
- Take them on road trips as an easy portable snack.
- Add them to homemade edible gift boxes during the festive season.
- Pair with Greek yoghurt and berries for a more filling breakfast. Or for more protein try them with Whipped Cottage Cheese with Fruit.
Variations
- Vegan version - Replace the honey with maple syrup to make the recipe completely vegan.
- Gluten-free version - Use certified gluten-free rolled oats if preparing these for someone avoiding gluten.
- Dairy-free option - Choose dairy-free dark chocolate chips to keep the entire recipe dairy free.
- Higher protein version - Add one or two tablespoons of vanilla or chocolate protein powder. If the mixture becomes dry, add an extra spoonful of peanut butter or a splash of water.
- Coconut chocolate balls - Stir shredded coconut into the mixture or roll the finished balls in desiccated coconut instead of cocoa powder.
- Orange chocolate version - Add the finely grated zest of one orange. It gives the mixture a fresh citrus note that pairs beautifully with the cocoa.
Storage
Refrigeration - Store the energy balls in an airtight container in the refrigerator for up to one week.
I like placing a sheet of baking paper between layers if I'm stacking them. It stops them sticking together.
Freezing - These chocolate brownie protein balls freeze exceptionally well. Arrange them in a single layer until frozen, then transfer to a freezer-safe container or zip-top freezer bag. They'll keep well for up to three months.
To defrost, leave them in the refrigerator overnight or at room temperature for around 20 to 30 minutes.
Make-ahead advice - This is one of my favourite recipes to prepare in advance. I often make a double batch, keeping one container in the fridge for the week and freezing the rest.
Because they thaw so well, it feels like having homemade snacks ready whenever I need them without making another batch.
Recipe tips
- Blend longer than you think. Many people stop the processor too early. A little extra blending transforms the mixture from crumbly to smooth without adding extra liquid.
- Use soft dates whenever possible. Fresh, soft dates produce the smoothest texture. Older dates still work well after a quick soak.
- Chill the mixture if it's too soft for rolling. If your kitchen is warm or your peanut butter is particularly runny, refrigerate the mixture for 15 to 20 minutes before rolling.
- Don't overdo the chocolate chips. Too many chips make the balls harder to roll neatly because the mixture struggles to hold together.
- Use a small scoop. A small cookie scoop keeps every energy ball roughly the same size, so they store neatly and are easy to portion.
- Store them chilled. Although they can sit out for a while, I think the texture is nicest straight from the fridge where they're pleasantly firm but still chewy.
FAQ
A food processor gives the smoothest texture because it breaks down the dates into a sticky paste. A high-powered blender can work, but you'll probably need to stop and scrape the sides down more often. If neither is available, finely chop the dates by hand and mix everything thoroughly, although the texture will be chunkier.
They're made with simple ingredients such as dates, oats, peanut butter and cocoa powder, so they offer fibre, healthy fats and natural sweetness. They're still quite rich, so I think of them as a satisfying snack rather than something to eat by the handful.
Freshly rolled energy balls are naturally a little sticky, especially if your peanut butter is runny or your kitchen is warm. Chilling them for 30 minutes firms them up nicely, and rolling them in cocoa powder also helps.
Yes. Quick oats blend more easily and create a slightly smoother texture. Rolled oats give a little more bite, which is why I usually reach for them, but both work well.

Sign up for our free newsletter and never miss a recipe!
Plus, you'll get a free eBook: 15 Minute Vegan Dinners!
⭐⭐⭐⭐⭐ If you love this recipe, please leave a five-star rating and review in the comments below! And if you make any modifications, let us know how it went so that we can all benefit from your experience. Happy cooking!
📖 Recipe
Chocolate Brownie Energy Balls
Equipment
- food processor
Ingredients
- 1 cup pitted dates 170g (if hard, soak them in warm water for 10 minutes first)
- 1 cup rolled oats 90g
- ½ cup peanut butter 125g
- 2 tablespoons cocoa powder
- 2 tablespoons honey or maple syrup
- 1 tablespoon ground flaxseed
- 1 teaspoon vanilla extract
- Pinch of sea salt
- 2 tablespoons dark chocolate chips
Optional: 1-2 tablespoons of cocoa powder, for rolling
Instructions
- Add the dates to a food processor and pulse briefly to break them up a bit. Add the oats, peanut butter, cocoa powder, honey, flaxseed, vanilla and sea salt (save the chocolate chips for later).
- Process until it forms a thick paste. You'll need to stop and scrape the sides down a few times. If it's falling apart and not a paste, add a tablespoon of water and whiz again.
- Tip the mixture into a bowl, and stir in the chocolate chips.
- Roll spoonfuls of the mixture into balls, and, if desired, roll them (or some of them) in the cocoa powder.
Notes
Blend longer than you think
Many people stop the processor too early. A little extra blending transforms the mixture from crumbly to smooth without adding extra liquid.Use soft dates whenever possible
Fresh, soft dates produce the smoothest texture. Older dates still work well after a quick soak.Taste before rolling
Different brands of cocoa powder vary in intensity. I often taste the mixture before shaping it and adjust with a little extra cocoa or a drizzle of maple syrup if needed.Chill the mixture if it's too soft
If your kitchen is warm or your peanut butter is particularly runny, refrigerate the mixture for 15 to 20 minutes before rolling.Don't overdo the chocolate chips
Too many chips make the balls harder to roll neatly because the mixture struggles to hold together.Use a small scoop
A small cookie scoop keeps every energy ball roughly the same size, so they store neatly and are easy to portion.Store them chilled
Although they can sit out for a while, I think the texture is nicest straight from the fridge where they're pleasantly firm but still chewy.Nutrition
The nutritional information provided is approximate and can vary depending on several factors, so is not guaranteed to be accurate. Please see a registered dietician for special diet advice.
Comments
No Comments